


© jez s, Jun 2005
Abseiling Tips
How do I pronounce “Abseil”?
Abseil is a word of German origin and rhymes with style not sail.
Why do American climbers call it “Rappelling”?
They chose the French term for sliding down a rope whereas we chose the German. Nothing more to it than that.
Why do climbers not like abseiling? It's great!
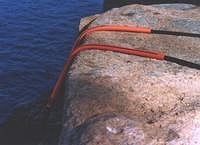
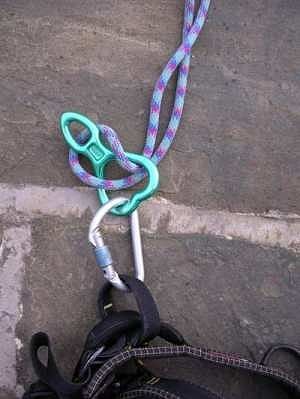
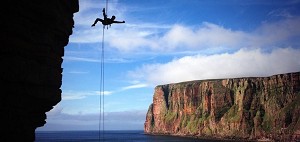
 © Dan Arkle
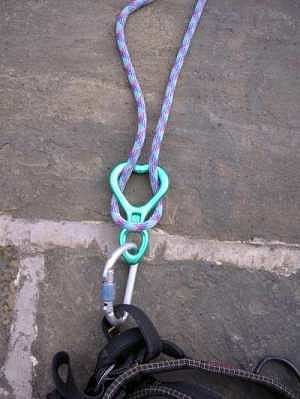
So why do most climbers have a dislike for abseiling? Basically it is down to two things:
- single system with no backup.
- Easy to get wrong.
However with a little thought many of the risks may be reduced, though not entirely removed.


Comments