Gallery for Jelly Mould Surfer
Comments about the photos in this gallery.
99 photos in this photo gallery (showing 1-24): average rating 3.0 votes 210

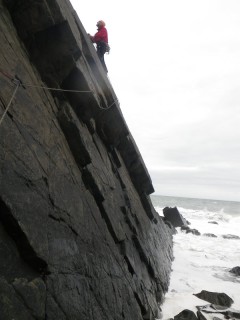
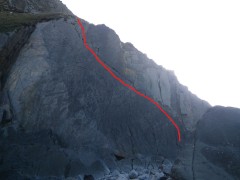
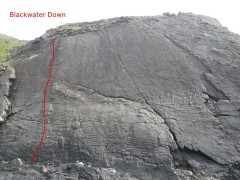
© Jelly Mould Surfer, Mar 2018

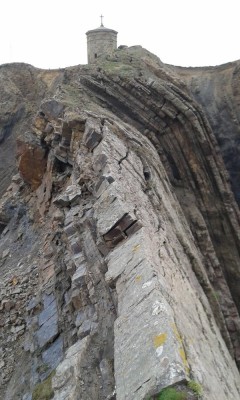
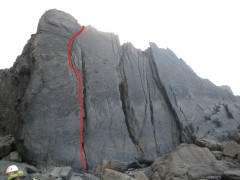
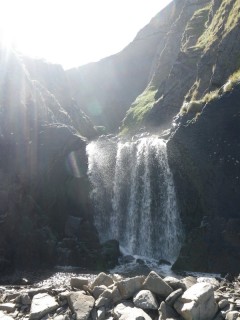
© Jelly Mould Surfer, Feb 2016
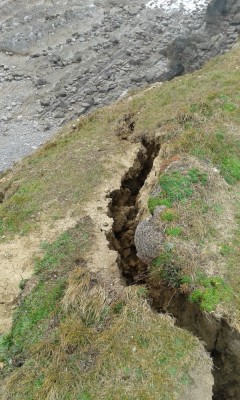
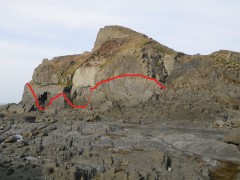
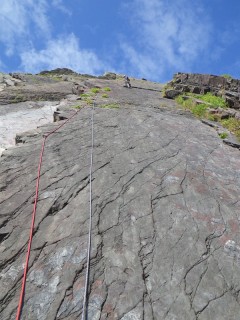
© Jelly Mould Surfer, Apr 2015
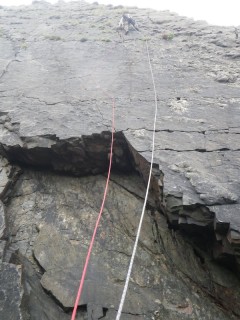
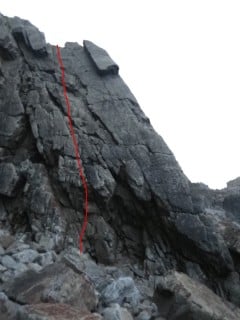
© Jelly Mould Surfer, Apr 2015
© Jelly Mould Surfer, Apr 2015
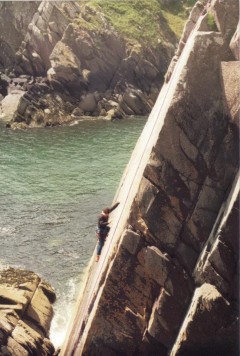
© Jelly Mould Surfer, Jun 1998
© Jelly Mould Surfer, Nov 2014
© Jelly Mould Surfer, Nov 2014

© Jelly Mould Surfer, Sep 2014

© Jelly Mould Surfer
© Jelly Mould Surfer, Sep 2014
© Jelly Mould Surfer, Sep 2014

© Jelly Mould Surfer, Sep 2014
© Jelly Mould Surfer, Jun 2014

© Jelly Mould Surfer, Jun 2014
© Jelly Mould Surfer, Aug 2014

© Jelly Mould Surfer, Aug 2014
© Jelly Mould Surfer, Aug 2014

© Jelly Mould Surfer, Aug 2014
© Jelly Mould Surfer, Jul 2014
© Jelly Mould Surfer, Jul 2014
© Jelly Mould Surfer, Jul 2014

© Jelly Mould Surfer, Jul 2014

© Jelly Mould Surfer, Jul 2014