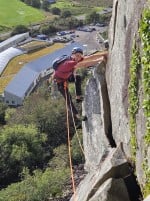
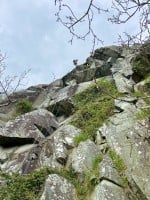
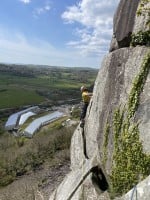
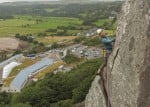
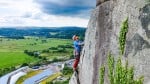
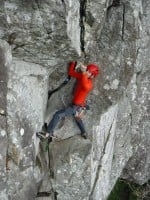
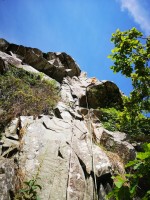
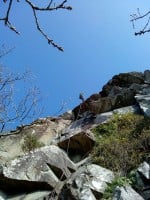
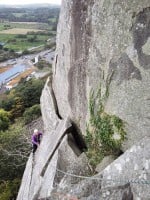
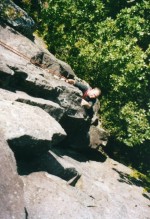
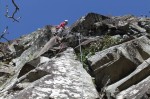
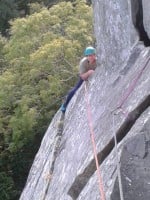
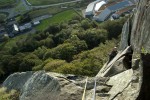
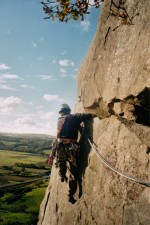
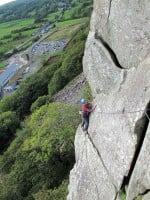
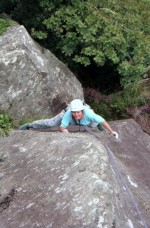
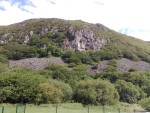
Photo gallery: Craig y Castell (Tremadog)
Click to read about Craig y Castell (Tremadog) crag (Gwynedd).
49 photos of this crag (showing 1-24)
Click on the small images to view the full size versions.
garybarwick, Sep 2023
© Paul Ross
© ipfreely, Apr 2023
© ipfreely, Apr 2023
© Luke Davies

© IainMunro
© Michael Hellyer, Jul 2021
© Paul James, Aug 2020
© Siongethinhill, Jun 2020
© balandino_dd, Mar 2019
© dmorgan27, Sep 2018
mike lewis
© kev davies
© lost.arrow, Sep 2015
© lost.arrow, Sep 2015
© kev davies
© caradoc, Apr 2015
© Nickbrook22, Sep 2013
© Mark Collins, Sep 2011
© oscaig
© Stephen Reid - Needle Sports
© Pencarth
© jim jones, Apr 2005
© Clogwyn y Gwin, Jul 2009
© AJM, Nov 2008
Unclaimed photo
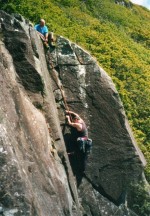
The gripping Hand Traverse, Creagh Dhu Wall
© allysingo, Nov 2008