
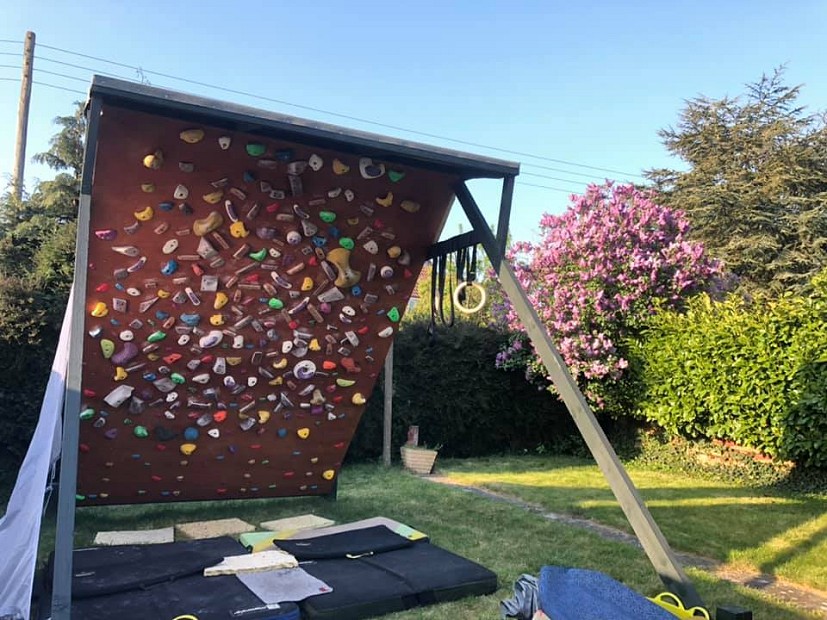
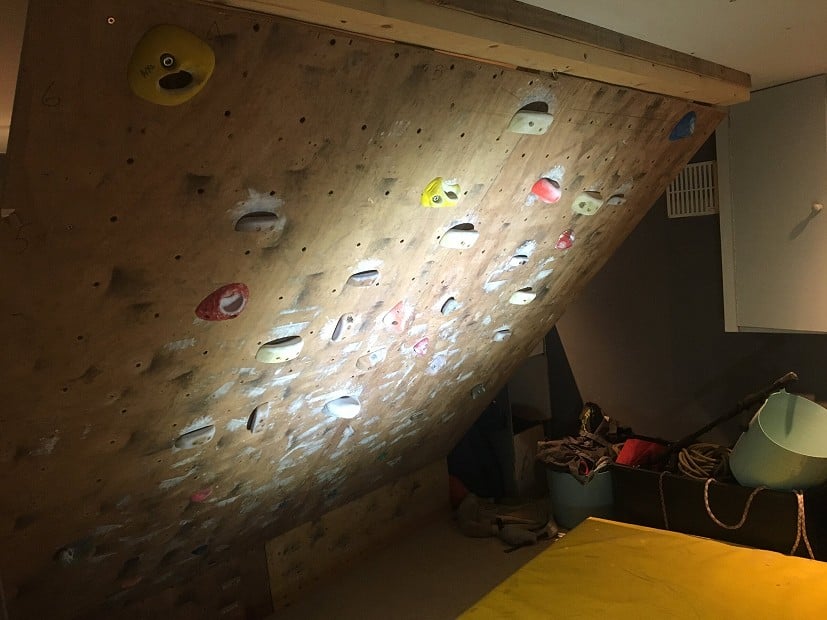
So you've finally built your home wall! With the boom in home builds due to COVID-19 there have been questions raised online about how to get the most out of a home set-up. While every construction will differ in size, angle and purpose, there are some universal tips for making sessions productive and fun - especially once the novelty wears off!
Here are some ideas for staying strong and motivated on a home set-up. Given that the majority of home boards are small in height and width and are more typically used as strength and power training tools rather than as circuit boards (which tend to be bigger), I'm focusing mostly on advice for smaller, angled boards with an array of holds for setting short boulder problems, rather than longer endurance circuits or symmetrical system boards.
Setting the Board
1. Decide what you want to use it for
What's your main training goal at the moment? Strength and power by climbing hard moves or doing power/endurance circuits? This may change and the holds on the board can change with it, but the likelihood is you will fall into one of the categories and have a wall that suits one or the other best. You might choose to use lockdown time for pure strength and power gains and have built a smaller, steeper wall to fit this purpose since walls and crags aren't currently accessible.
2. Choose appropriate holds
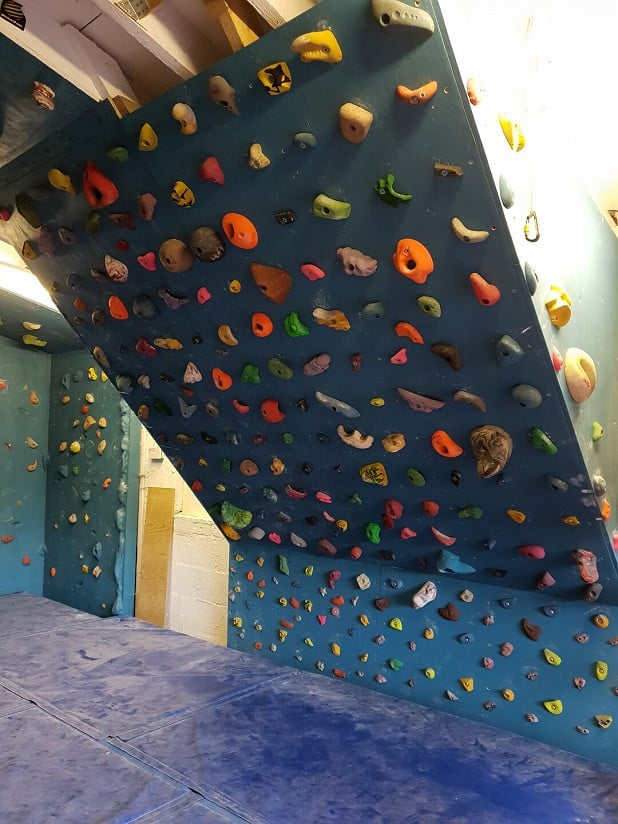
Firstly, a set of jugs for warming-up is important. On a board that's set up for training strength and power - doing a small number of hard moves at your limit - using wooden holds will help preserve your skin and enable more reps, while forcing you to work harder to maintain grip and tension. Avoid awkward holds which place uneven strain on individual fingers (bobbly shapes) as the lack of a uniform shape can put you at risk of injury, especially when repeating moves over and over. Choose a variety of holds of different grip types - even if you want to train your full crimp strength, you'll likely end up with finger injuries if you stick to repeats of one hold type for multiple sessions! Holds which have multiple grip options might give you more value for money and enable some complex match sequences.
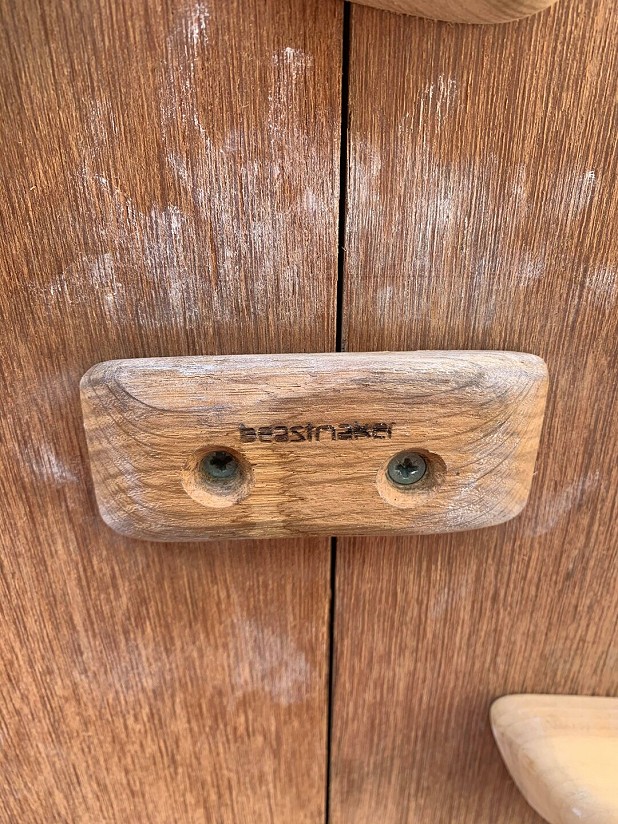
Making wooden holds has become more popular and can be a cheaper way to add some different shapes to a board. You might have a rock project in mind (post-lockdown) and be able to replicate a very specific hold if you're creative, but be careful not to overdo it if it's tweaky or awkward.
3. Think about the ways you can use each hold
Rather than placing each hold the 'right way up' or in its most obvious orientation, turn some crimps to gastons and jugs to undercuts. Don't spray the holds on all at once. Instead, pick a variety of the most interesting/inspiring shapes and see how they might link together. You can then fill in the gaps around a few problems by imagining grids of holds and trying to vary the grip types within each area of the board. Have you got: a crimp, sloper, undercut, sidepull, jug, pinch, pocket (and footholds if central or below)? If you have a surplus or plenty of holds, it can be fun to keep some aside to add later when the same holds start to feel a bit stale.
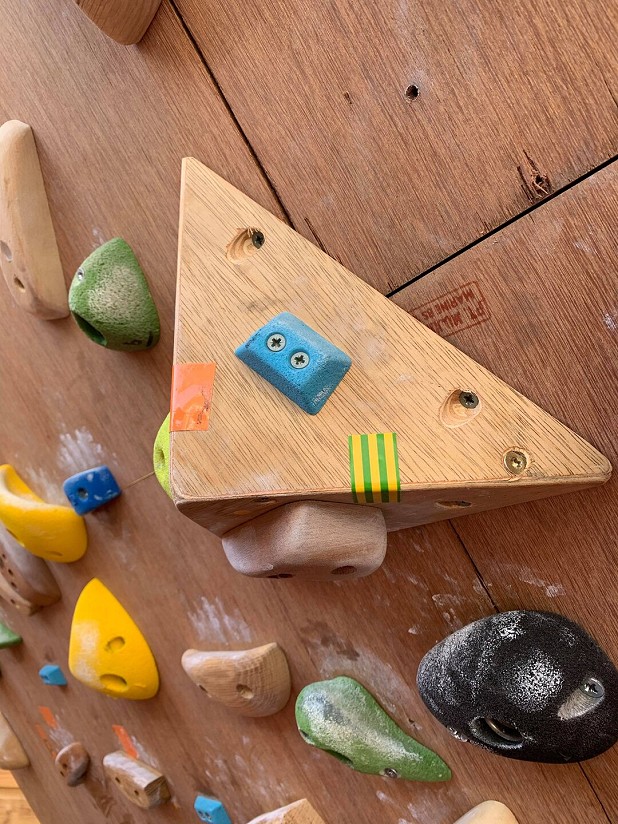
Start using the board once you have some holds on and figure out which holds you're using most and least. If you find that you're not using any particular holds, is it because you're actively avoiding them (you hate slopers!) or because the shape/position doesn't really link well with other holds? Experiment and shift holds around to find a set you're happy with. Equally, if you keep gravitating towards one or two holds in problems because they're juggy or your favourite grip type, consider switching it for something else if it's becoming a bit of a distraction. Can you change the orientation in some way?
You can add volumes (either buying them or making them yourself) to give some variation to the angles on your board, which will in turn alter your body and gripping positions. Make sure you place them with consideration for moving to other holds, as they can be obstructive and get in the way.
4. Consider using separate footholds
There are different options for footholds on a board and it's up to you to set the rules. Clearly, they can be different for each specific boulder, but generally you'll want to try and establish some 'house rules'. Consider buying small screw-ons exclusively for feet and scattering them across the areas where you'll need footholds. You can also set feet-follow or feet-on-anything rules, but from experience the eye - and the mind! - tend to gravitate towards bigger footholds, especially when tired. This means that the difficulty might not be as hard as you can manage, and you won't get as much of a workout as you're not having to engage your core and maintain body tension and your grip as much to keep your feet on. If you don't have access to small feet-only holds, you can turn some jugs upside down (which sometimes make for slopey-feet that are harder work than small screw-ons!). Using separate footholds also keeps handholds free from rubber and dust from your shoes.
5. Make a letter/number grid, or name holds for easy problem recording
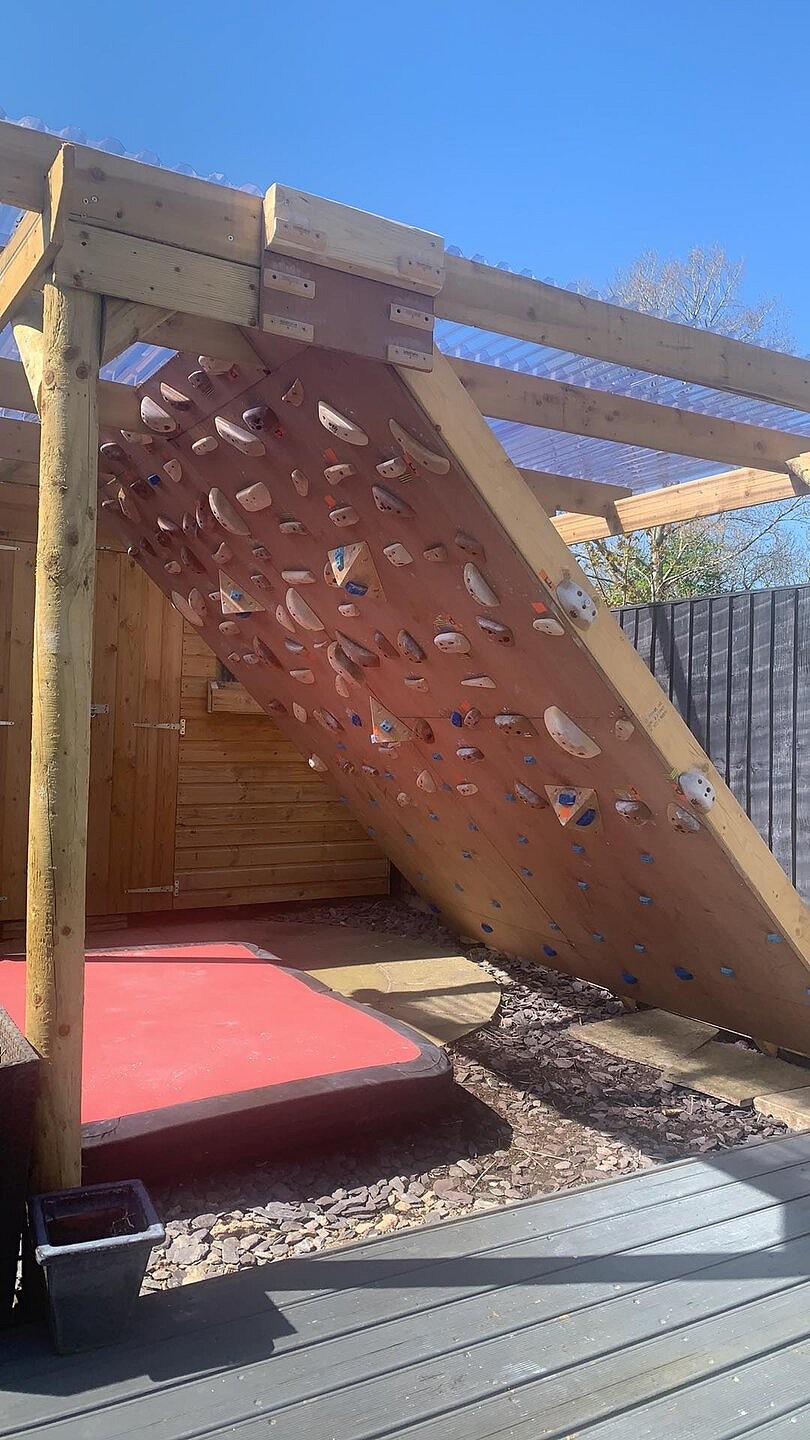
If you have a T-nut grid panel for bolt-on holds, these can be lettered and numbered down the side and across the top to form grid references (like in Battleships!). If you have added screw-ons or have a screw-on only board, write names on the holds (or above them if you want to keep some perma-holds) in marker pen. This means that holds can easily be identified and logged in an app or book. Taping/tagging holds seems less popular in the UK, and can get a bit messy/confusing when the board gets busy, but if you tend to forget moves mid-climb or don't want to log them, then tape can make things a bit easier. Choose whichever works best for you.
6. Mind the connies (conditions)
Keep a brush and some chalk to hand and consider washing the resin holds from time to time. Although you can get some strength gains from pulling extra hard on greasy holds, it might make training a bit more pleasant! For wooden holds, some chalk and grease can actually make them more 'sticky' and easier to hold. The location of your board can affect conditions. If it's outside or in a damp cellar or garage, keep an eye out for mouldy holds due to sweat and moisture build-up and consider getting a dehumidifier if things are especially dank indoors. If it gets too sweaty, buy a fan. Bring some speakers and a chair/couch for training tunes and comfy breaks between problems. Some people use a chalkboard to mark reps or write up board rules and motivational messages!
Using the Board
1. Warm up properly!
If you're lazy with warming up at your local wall, you'll be even worse on a home board given its proximity to the bed/home office/sofa. It can be tempting to roll out of bed or off the couch and pull on, but warming up is especially important at home due to the steepness of most home boards. If you don't have space for a section of vertical or slightly less overhanging walls, then doing an off-the-wall warm-up is even more crucial. Raise your heart rate and do some mobility exercises - arm circles, shrugs for the shoulders and fist clenches and wrist circles are particularly important for steep boards - as you would should normally do at the wall before a session. If you have a fingerboard or pull-up bar, do some gentle hangs and pull-ups on this first.
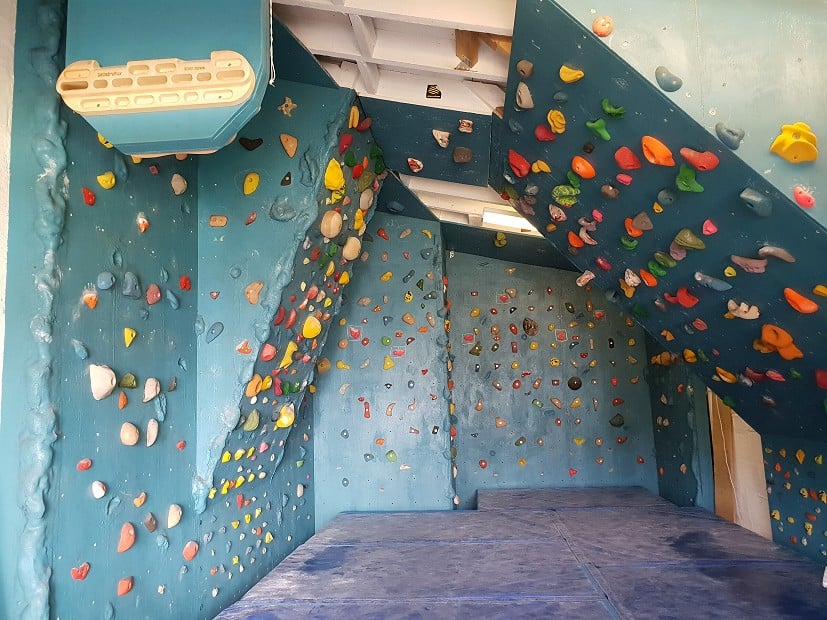
You'll probably notice that warming up for a board session takes longer - or at least feels like it takes longer - than it does at the wall. The intensity of a 45 degree board in particular is not to be underestimated, and while you'd normally have a variety of angles and styles to progress through at a centre, now you have to slowly ease your way into smaller holds and harder moves. Begin with your 'jug line' and gradually swap out some of the holds for different grip types. Creating around five easier but varied problems that you can repeat at the start of each session helps you to gauge how you're feeling each time and adds consistency.
2. Vary your movements and problem styles
Variety is important for keeping training interesting and engaging as much as it is for preventing over-use injuries. If you start to feel tired on a particular grip type - e.g. crimps - then you might feel surprisingly fresh if you switch to slopers or pockets. Board climbing is generally synonymous with front-on climbing style - not twisting your hips, making more dynamic moves - but a mix of static and dynamic styles will keep things interesting and work both slow and fast twitch muscle fibres. Although moves should generally be basic and not 'comp-style' for strength benefits, making some 'fun' problems with knee-bars, toe-hooks or feet-first sequences can help with motivation for using the board. Just be mindful of the landing if your matting set-up isn't as bomb-proof or expansive as a commercial wall's!
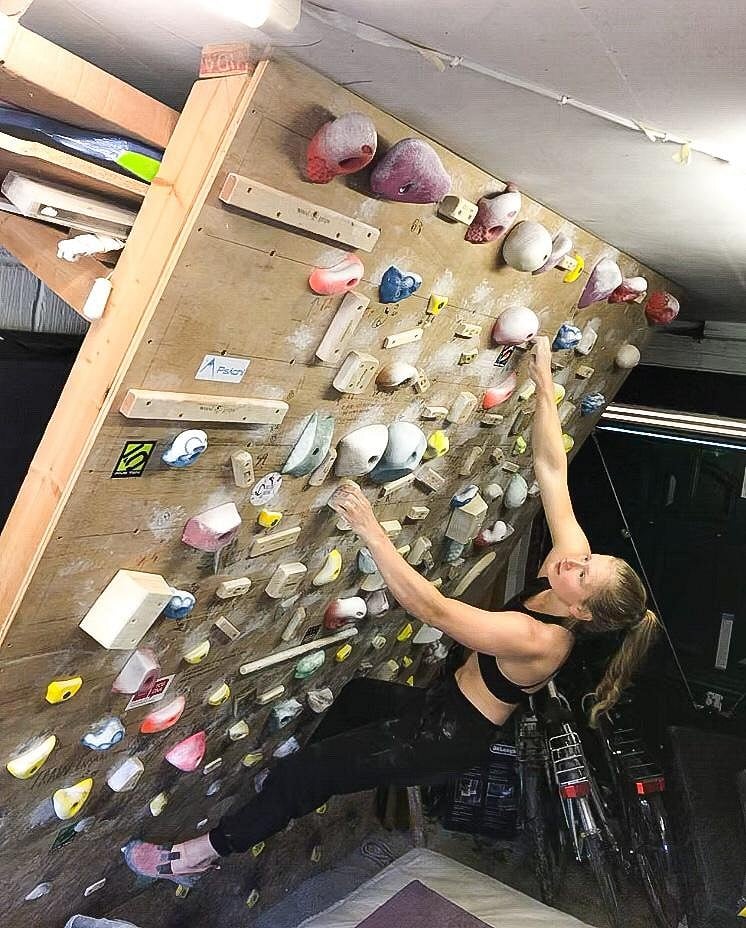
Practise spotting interesting sequences quickly and testing your route-reading skills as you try to gauge the body positions and difficulty before pulling-on. Set some classics and test-pieces that can serve as progress markers over time.
3. Ask your friends to send marked problems virtually
This is a fun way to stay motivated and challenge yourself by asking others to set problems for you and is particularly relevant to lockdown life. You'll probably find that other people think of totally different movements and styles to what you're used to, which broadens your movement repertoire and trains different strengths and weaknesses. If your friends know you're a static fiend but pretty hopeless at dynamic moves, there's no doubt that they'll throw some big moves at you. Ask them to specify rules for feet, too!
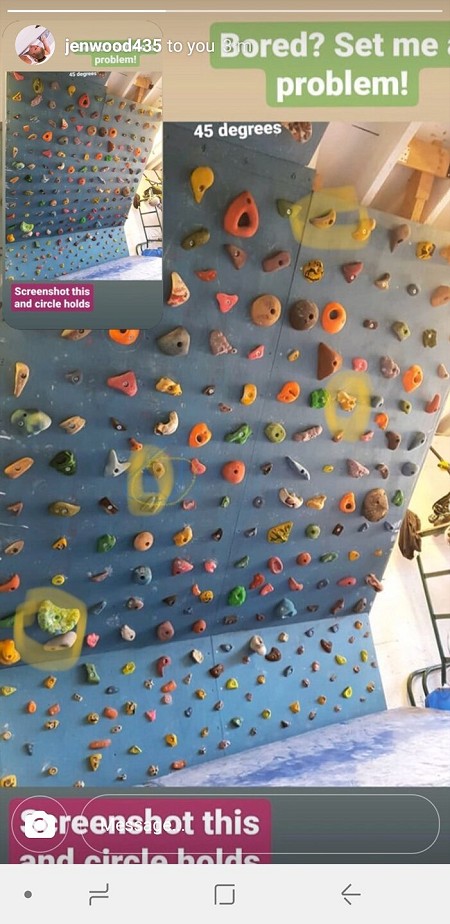
An easy way to do this is to take a photo of your board on your phone and send to a friend, who should be able to figure out how to mark holds using an in-built photo edit feature when they save it to their device. Use the draw/paint tool to circle or dot holds. A more community-engaging/social way is to solicit problems using Instagram stories. Post your board photo to your stories and ask people to set you some problems and tell them to screenshot the image, then use the draw tool and re-send. Post videos of your climbs to Instagram and let your friends know if they managed to outsmart/outbeast you!
4. Have a virtual board session with friends
As Zoom and similar platforms take over our daily lives, put them to good use and initiate a group board session with friends who have a home wall. Recreate the abuse you enjoy at the local wall or at the crag. Having a virtual audience will probably push you to try harder and make sessions more bearable, especially if you struggle to train alone.
5. Don't go crazy!
It's worth reiterating how intense a steep board can be and how addictive it can be to train on it at home, especially if you've got a new-build during COVID-19. Set a strict schedule for each week's training with rest days between sessions, and increase your session frequency and length gradually as your body recruits to the board - this is especially important if you're not used to training on a board at the local wall. Keep an eye on how your fingers, shoulders and back feel after each session, as these areas get hit particularly hard on a steep board. Allow yourself some time to recover properly before training again, especially when it's first built and if you're new to board climbing. It can take a few weeks to feel comfortable and in control and you might have a few 'off' sessions in the first weeks before feeling stronger. Pushing through the honeymoon period when the novelty has worn off after a few weeks and you feel tired can be tough, but shifting a few holds or asking someone else to come up with problem ideas should get you through.
Tips from the pros:
Billy Ridal, GB Team
"Add the holds gradually over a number of sessions, I've plastered them all on at once before and found that many of them never end up being used. Take your time and think about how the holds might interact with others, it can be helpful to actually set boulders whilst you are putting the holds on to get you started too."
Jen Wood, GB Team
"Home boards can be good for keeping the endurance up too! I've been using mine a lot for aerobic capacity work where I'm on the wall 1,5 or 10+ minutes at a time. It's not the most exciting training, but it feels really nice just to get a tonne of moves in. If your board's mega steep you could try standing on a few spare holds placed on the floor to mimic reducing the angle."
Peter Beal, US bouldering coach
"Keeping a consistent distribution of three levels of holds throughout the mix is super helpful. Call them easy, moderate, and hard. Easy holds allow quick creation of warm-ups, circuits and longer traverses. Moderate holds help with incorporating cruxes into easier traverses, harder circuits, and goal problems/traverses. Hard holds are great for limit boulders, projects and aspirational moves. Proportion should probably be 50% easy, 30% moderate, 20% hard.
"The emphasis should be on boulders that build strength and fluidity of motion. Avoiding circus trick moves or potentially injurious moves or holds is critical. Endurance on a home wall is a hard aspect to train unless your wall is wide and not super steep. It's also fairly easy to get back compared to power, so I'd recommend focusing on the latter."
Ned Feehally, boulder beast and Beastmaker
"Rather than just working 1 or 2 projects, try to build yourself up a circuit of problems which you can do in order to get some mileage out of your session. Don't set the board so hard that you can't do a decent volume of climbing on it. It's great working on maximum strength, but you also want to try to maintain some volume to your training, which will require a lower level of intensity."
Dave MacLeod, all-rounder with a mega home wall
"I think it's good to have board projects to work on. They are good for measuring progress, for focusing the training effort but also just to give it some meaning. For instance, some of the projects on my board are hard enough that I know if I could do them then I could certainly do my projects outdoors. So they are really useful to keep you motivated, whether you are making good progress or not. For me there is nothing like the feeling of not being able to move on a hard project to get me fired up for change."
Watch How to Optimise your Home Climbing Wall by Dave MacLeod:
- INTERVIEW: Albert Ok - The Speed Climbing Coach with a Global Athlete Team 17 Apr
- SKILLS: Top 10 Tips for Making the Move from Indoor to Outdoor Bouldering 24 Jan
- ARTICLE: International Mountain Day 2023 - Mountains & Climate Science at COP28 11 Dec, 2023
- ARTICLE: Did Downclimbing Apes help Evolve our Ultra-Mobile Human Arms? 5 Dec, 2023
- ARTICLE: Dàna - Scotland's Wild Places: Scottish Climbing on the BBC 10 Nov, 2023
- INTERVIEW: Loki's Mischief: Leo Houlding on his Return to Mount Asgard 23 Oct, 2023
- INTERVIEW: BMC CEO Paul Davies on GB Climbing 24 Aug, 2023
- ARTICLE: Paris 2024 Olympic Games: Sport Climbing Qualification and Scoring Explainer 26 Jul, 2023
- INTERVIEW: Malcolm Bass on Life after Stroke 8 Jun, 2023
- ARTICLE: Alexandr Zakolodniy - A Climbing Hero of Ukraine 26 Apr, 2023






Comments
So you've finally built your home wall!
Right. First obvious question. Precisely how many people have done/got anything like those `home walls'?
*hand up*
So article is quite apt! Particularly the bit about the variety of hold types - built mine at 45 degrees, covered in little crimp edges and the fingers are having a total moan this morning.
Quite a few: https://www.ukclimbing.com/articles/features/the_home_climbing_wall_boom_covid-19_constructions-12728
me, nothing as fancy as some of the pictures but a 30 degree board I can also think of at least 3 of my friends that have built something similar, these are all 2 climbing households so that's at least 6 people. I also saw a lot of people in climbing trousers loitering around the plywood section of B&Q in the week before lockdown.
to those who have home walls if you have a 30 degree board and have a small amount of space to build something else what would you build? to be usable it needs to be steeper really as it's in the loft, the steeper the wall the longer the problems if that makes sense?
That's me told then! *shuffles off shamefacedly toward fingerboard*