Comments about the photos in this gallery.
11 photos in this photo gallery
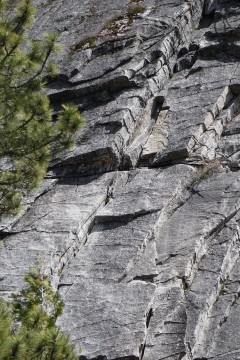
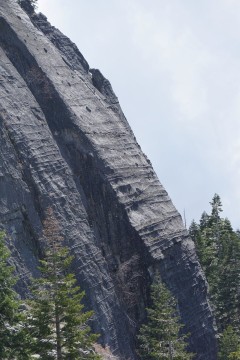 Side profile of Surrealistic Pilar which follows the arete and is stunning
© Jamesovens, May 2020
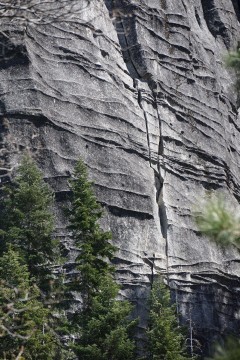 First pitch. If you zoom in you will see the bolted anchor which is for the Direct route. For the regular route, climb 30ft fur
© Jamesovens, May 2020
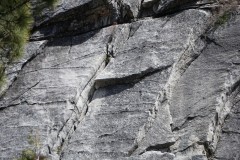
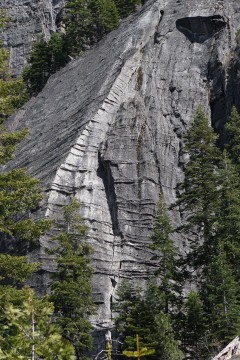 Surrealistic Pillar - The entire route can be seen here except the first half of the first pitch which is below the treeline
© Jamesovens, May 2020
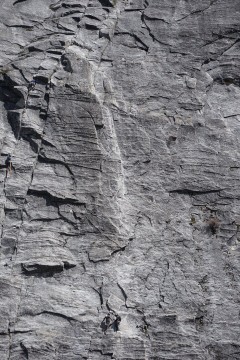
 Left crack system is East Crack. Bear's Reach is the next crack/flake system to the right with climbers at the top of the first
© Jamesovens, May 2020
 Looking up the first pitch with climbers at the first belay ledge
© Jamesovens, May 2020
 Climbers at the first belay ledge with the second pitch visible above them
© Jamesovens, May 2020
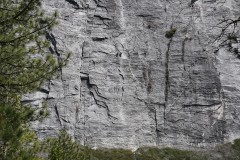
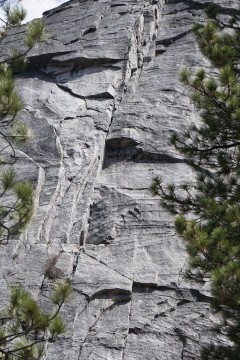
 Two obvious crack systems: the first pitch of the regular Haystack route on the left, with the alternative start on the right;
© Jamesovens, May 2020
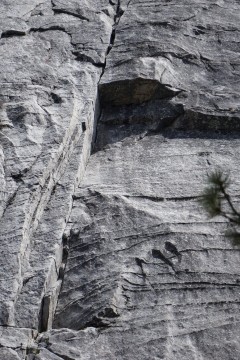
 Visible in this photo: Top half of the 1st pitch, entire 2nd pitch and start of 3rd pitch
© Jamesovens, May 2020
 Close up of the crux climbing on pitch 2
© Jamesovens, May 2020
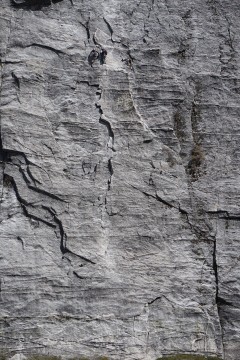
 Pitch 1 - Crack system past obvious bulge and then over the golden rock scar
© Jamesovens, May 2020
 Pitch 1, 5.7 crux bulge
© Jamesovens, May 2020