Comments about the photos in this gallery.
65 photos in this photo gallery (showing 1-24): average rating 3.3 votes 72
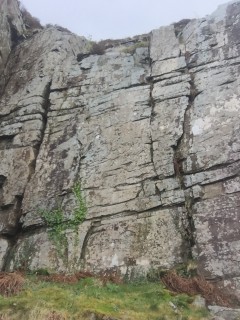 Right side of Glynfach quarry with the wall that Psychotherapy (7a) takes direct.
© simoncov, Apr 2023
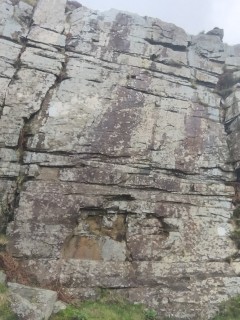 Right-hand wall at Glynfach with Yak's Back (5c/6a) up the left of the wall, Fach That (VS 4c) the crack on the left...
© simoncov, Apr 2023
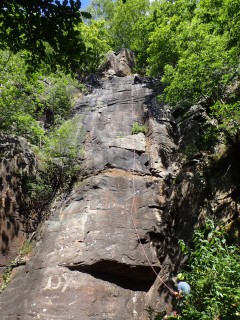
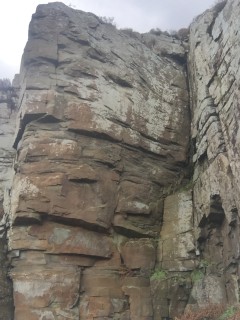 The main wall at Glynfach with Killer Arête (6b/+) on the left and Dai Hard (7b) up the middle.
© simoncov, Apr 2023
 The top of Rising Sap. Small crimps to clip the (new?) anchors, which is thankfully with the bolt at your waist and quickly ov
© simoncov, Jun 2022
 Rising Sap (6a+/6b) with the third bolt clip-sticked for the tricky start.
© simoncov, Jun 2022
 The upper section of Fatal Reflections where the arête can be easily climbed to the left of the bolts or more directly.
© simoncov, Jun 2022
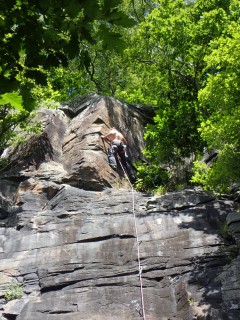
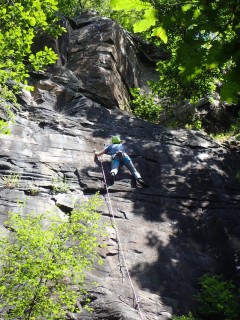
 Etta on her first 6a+ onsight lead, Fatal Reflections.
© simoncov, Jun 2022
 The tricky start of Weeping Stump.
© simoncov, Jun 2022
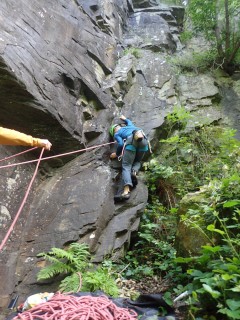
 Jaako just past the short earthy flake crack on Weeping Stump.
© simoncov, Jun 2022
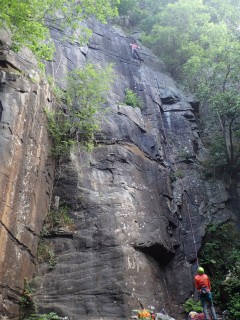
 Jaako high on Weeping Stump, showing the arête of Left Edge.
© simoncov, Jun 2022
 Rifugio Pirlo allo Spino
© simoncov, Jun 2022
 Topo picture from the Monticolo crag (Corno GAS).
© simoncov, Jan 2022
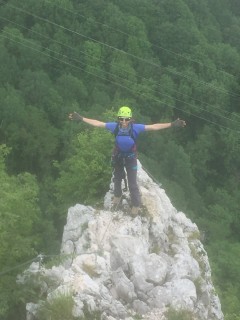
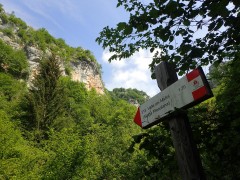
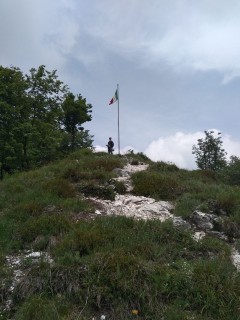 The flag at the top of the Spigolo Della Bandiera via ferrata.
© simoncov
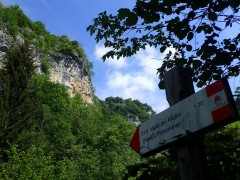
 View back down the valley from most of the way up the Spigolo Della Bandiera via ferrata.
© simoncov
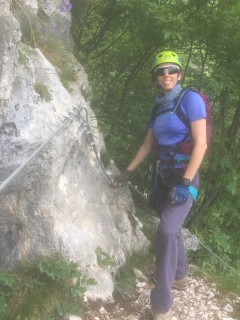
 The easy finishing crest of the Spigolo Della Bandiera via ferrata.
© simoncov, Jun 2022
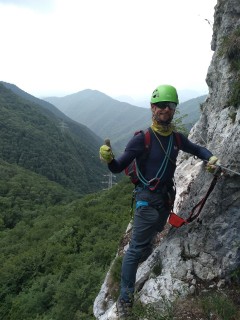
 The comfortable ledge halfway up the Spigolo Della Bandiera via ferrata.
© simoncov, Jun 2022
 Descending into the amphitheatre after the main bulk of via ferrata is finished on Passo della Porta via ferrata (Pressolana).
© simoncov, Aug 2020
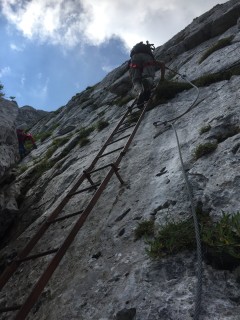 The ladders near the start of Passo della Porta via ferrata (Pressolana).
© simoncov, Aug 2020
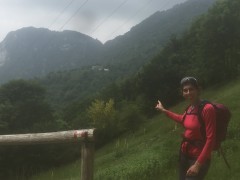
 The approach to Giambi Sector.
© simoncov, Jun 2022
 Via del Lama P1 (5c) at belay, showing a bit more of P1.
© simoncov, Jun 2022
 The approach to Valle dei Mulini with the Giambi Sector in the background.
© simoncov, Jun 2022
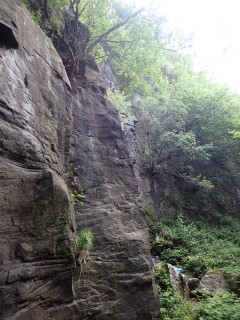
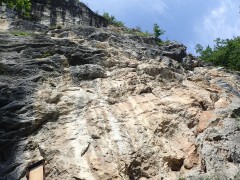 Giambi Sector from the base. Fantastic rock.
© simoncov, Jun 2022
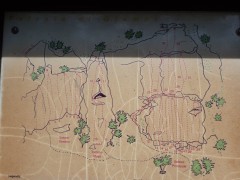 Giambi Sector topo.
© simoncov, Jun 2022
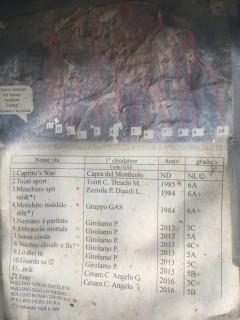
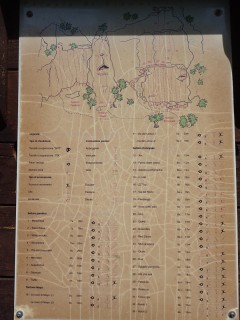 Giambi Sector topo and list of routes.
© simoncov, Jun 2022