Photo gallery: Craigmore
Click to read about Craigmore crag (East Dunbartonshire).
57 photos of this crag (showing 1-24)
Click on the small images to view the full size versions.
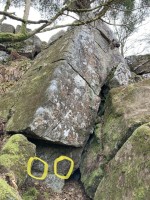
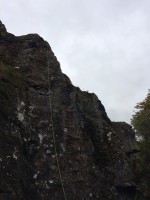
© Jack McKechnie
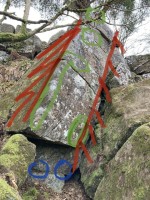
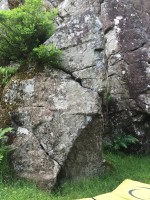
© drconline, Apr 2021
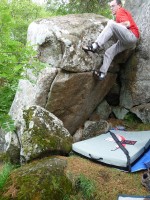
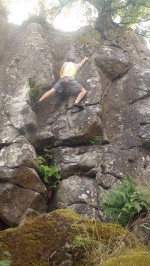
© Jamie Taylor
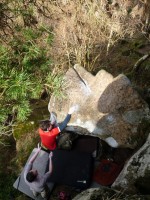
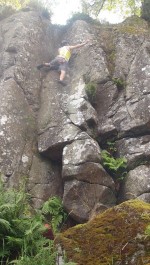
© Jamie Taylor
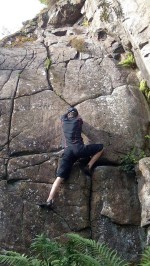
© Jamie Taylor
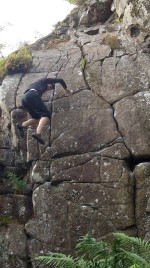
© Jamie Taylor
© John S. Watson, Jul 2010
© John S. Watson, Mar 2013
Trist Fox, Oct 2017
© Smelly Fox
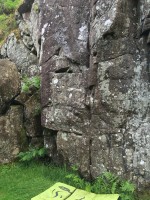
Unclaimed photo
Terror (Both Faces)
© gacamp, Jun 2016
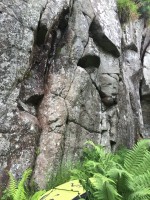
Unclaimed photo
Spinal Wall
© gacamp, Jun 2016
Unclaimed photo
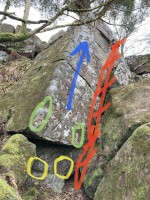
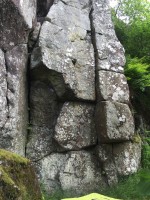
Salamander and samson
© gacamp, Jun 2016
Unclaimed photo
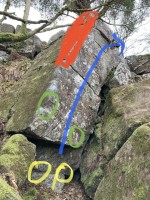
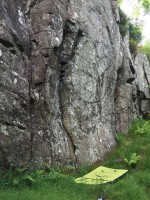
Sabre and Stiletto Cracks
© gacamp, Jun 2016
Unclaimed photo
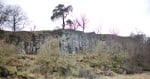
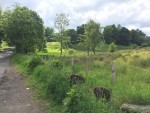
The parking area. The boggy field is directly on the right. The better access is forwards up the road on the right.
© gacamp, Jun 2016
Unclaimed photo
Layback crack
© gacamp, Jun 2016
Unclaimed photo
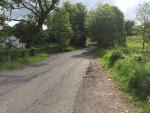
The access across boggy fields, it is boggy! Best to use the other access, 200 yds back down the road.
© gacamp, Jun 2016
Unclaimed photo
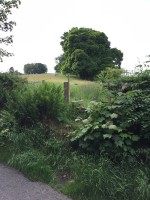
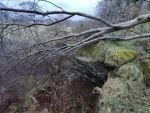
The better access to the area, the wooded ridge above the crag.
© gacamp, Jun 2016
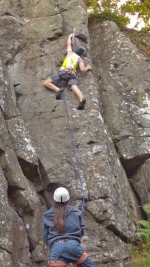
© dmacmorris
© dmacmorris, Jul 2014
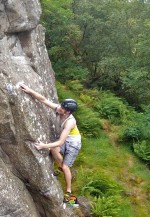
© dmacmorris, Jul 2014
© dmacmorris, Jul 2014
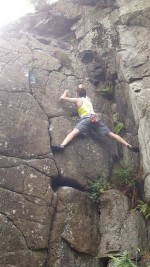
© dmacmorris, Jul 2014
© dmacmorris, Jul 2014
© dmacmorris, Jul 2014