Photo gallery: ardverikie wall at Binnein Shuas
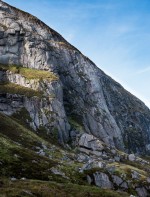
Click to read about Binnein Shuas crag (Highland).
58 photos of this climb (showing 1-24)
Click on the small images to view the full size versions.
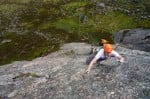
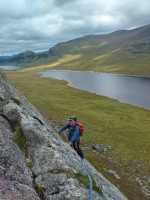 Nearing the end of P4
Kevin W., Aug 2023
© Ade Pedley
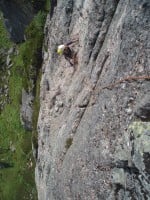
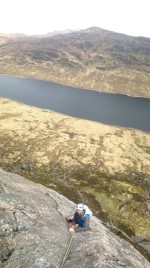
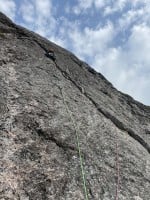 Jordan on the second pitch
© Eddie2, Jun 2023
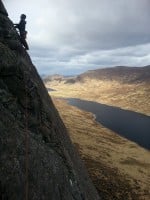
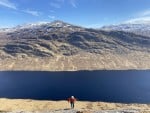 Sprint to the finish
© william henderson, Mar 2022
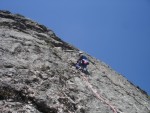
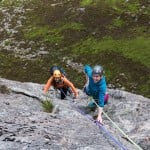 Posing on Ardverikie Wall
© Ryan23
 Best Hard Severe ever?
© SamSimpson, Feb 2019
 Alonso leading pitch 1+2/6 of Ardverikie Wall HS 4b***
© trying.soft, Sep 2019
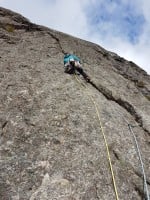 Sara leading the beautiful flake/groove of pitch 3/6 of Ardverikie Wall HS 4b***
© trying.soft, Sep 2019
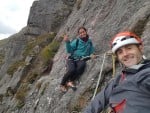 Hanging out at the belay p2 of Ardverikie Wall HS 4b***
© trying.soft, Sep 2019
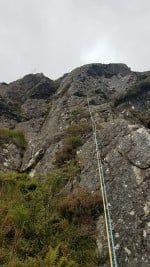
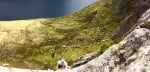
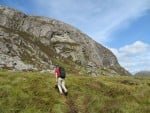 Approach
© john jennings, Sep 2015
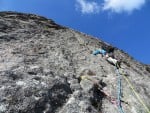 third pitch
john jennings, Sep 2015
© Conan
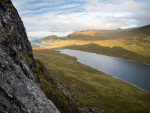
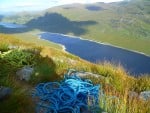 View from the top.
© john jennings, Sep 2015
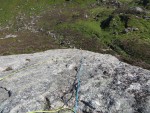 Long run out on pitch two.
© john jennings, Sep 2015
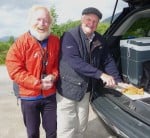 Celebration Dundee Cake
© GN Hunter, Jun 2017
 Ardverikie Wall's 50th anniversary
© GN Hunter, Jun 2017
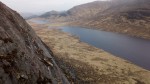
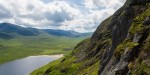
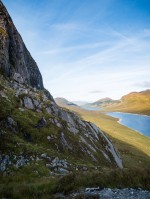 Binnein Shuas and surroundings on a beautiful September evening
© mike_tamanawis, Sep 2016
 Belay, pitch 1, Ardverikie Wall
© mike_tamanawis, Sep 2016
 Beautiful conditions at Binnein Shuas, with a team or two on Ardverikie Wall
© mike_tamanawis, Sep 2016
 High on Ardverikie Wall
© Howard Crumpton, Jun 2014
 Martin McKenna on Delayed Attack from Ardverikie Wall.
© Hugh Simons, Jul 2016
 Penultimate pitch on the classic Ardverdeekineekie Wall
© Blake, May 2016
 Alex on the delicate crux section
© Dr Toph, May 2016
 JMM on pitch three of Ardverikie Wall
© Flashy, May 2016
 Dave on Pitch 4 Ardverikie Wall (HS 4b)
© TILLY, Apr 2016
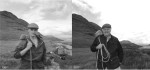
 Doug Lang leading the original line, the slab to the left of the 100 foot crack
© Cam Forrest, Jun 2009