UKC

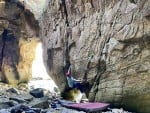
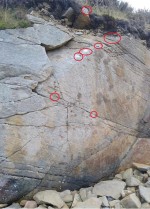
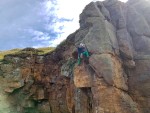
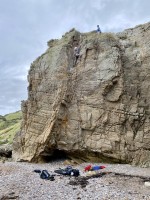
Photo gallery: Cummingston

Click to read about Cummingston crag (Moray).
136 photos of this crag (showing 25-48)
Click on the small images to view the full size versions.

thumb
What do I do now?
© MichaelG, Sep 2020
thumb
Holds for Mephitidyno
© BenjyW, Dec 2020
thumb
Mephitidae
© BenjyW
thumb
Pulling through the crux
© MichaelG, Aug 2020
thumb
Jo in the ‘poorly protected groove’
© MichaelG, Aug 2020
thumb
Getting as much gear in as possible before pulling through the roof.
© MichaelG, Aug 2020
thumb
Leading Right at Cummingston. Lovely route with some delicate climbing.
© MichaelG, Aug 2020
thumb
Fingerlicker f7A
© BenjyW, Jul 2020
thumb
Finger Licker f7A
© BenjyW, Jul 2020
thumb
Isla following
© RobbieTaylor, Sep 2019
thumb
The shield
© John Aisthorpe, Oct 2019
thumb
Ben on Right
© KeithyM, Jun 2019
thumb
Ed on Jerker
© BenjyW, Jun 2019
thumb
Sunset stack
© KeithyM
thumb
Sunset bouldering at Cummingston
© KeithyM
thumb
Shane on Right
© KeithyM
thumb
Ben on The Prophet, Cummingston
© KeithyM
thumb
Scott heading up 'right' at Cummingston
© langdalec, Apr 2018
thumb
Snotty Nose Solo at Cummingston
© Monica R, Oct 2017
thumb
Moving up through the crux and believing in the gear.
© nwdave, Jan 2013
thumb
Cummingston with my Fatbike
© Stefan1986, Jul 2017
thumb
10-month old Anna on the approach slab to Flying Buttress - total focus!
© Alex Stanning, Jun 2017
thumb
The Moray med.... (3!)!
Simonfarfaraway, May 2017
© Simon White
thumb
The Moray Med... (2)
Simonfarfaraway, May 2017
© Simon White
Loading Notifications...