Photo gallery: Clogwyn Du Ymhen Y Glyder
Click to read about Clogwyn Du Ymhen Y Glyder crag (Gwynedd).
121 photos of this crag (showing 25-48)
Click on the small images to view the full size versions.
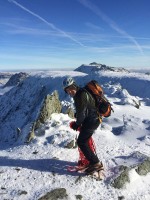
© davkeo, Jan 2017
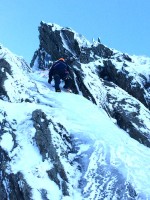
© benjit
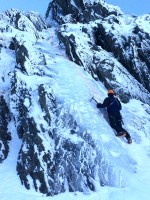
© Cornish boy, Feb 2016
© Cornish boy, Feb 2016
© Cornish boy, Feb 2016
© Dave Heaton, Feb 2016
James12389, Jan 2016
© James McDonald
Misha
© The Grist
© JamesWilliams, Jan 2015
© alastairbegley, Feb 2015

© Mr-Cowdrey, Jan 2015
© JamesWilliams, Feb 2015
© JamesWilliams, Feb 2015
JohnDog, Feb 2015
© epic ed
JohnDog, Feb 2015
© epic ed
JohnDog, Feb 2015
© epic ed

JohnDog, Feb 2015
© epic ed
© Robboj, Feb 2015
© Trevers, Feb 2015
© Trevers, Feb 2015
© Sarah Black, Feb 2015
© ianstevens, Feb 2015
© geoff b, Feb 2015
© Simon Perry, Feb 2015