Photo gallery: Hell's Lum
Click to read about Hell's Lum crag (Moray).
170 photos of this crag (showing 25-48)
Click on the small images to view the full size versions.
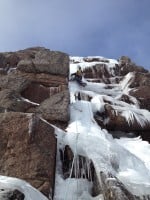
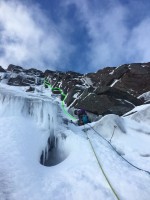
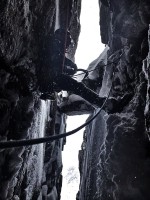
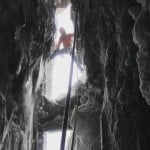
 Kiwi Gully
© A9
 Steep sunny ice
© Allovesclimbin, Feb 2015
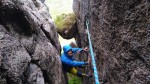 First back and foot excursion, Steven Pollock
© Kevin Adam, Jul 2020
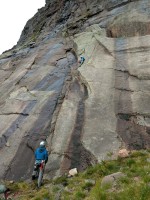
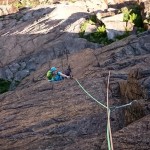
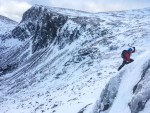
 View from upper pitches
© Jim Austin, Jul 2020
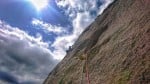
 Towards the top of Hellfire Corner
© Jim Austin, Aug 1991
 Suzana heading up the corner to the roof crux of Hell Fire Corner.
© ndraper1, Feb 2020
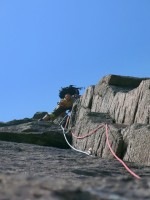
 On the final pitch
© Alex Reid, Aug 2019
 Above the classic corner section of pitch 3
© Alex Reid, Aug 2019
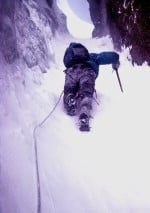
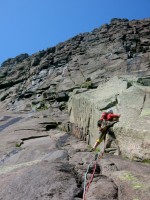 Committing to the tricky moves of pitch 1
© Alex Reid, Aug 2019
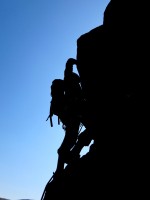
 And breathe...
© Hamish Frost, Feb 2019
 Not exactly on the right line...
© John A., Aug 2018
 Moving up the last rib
© mzchambers, Jul 2018
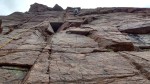
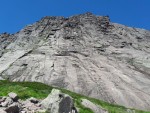 The very dry central slabs of Hell's Lum
© Captain Solo, Jul 2018
 Pulling over the second overlap.
© mzchambers, Jun 2018
 Top pitch of unknown climb to right o "Spin" and half way between the crag diagrams of "Puke" & "S
© Yourlead, May 2018
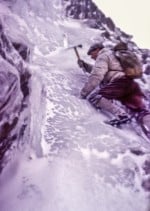 Ken Holmes cutting steps on The Escalator, Hell's Lum. February 1966.
© Tony Marr, Feb 1966
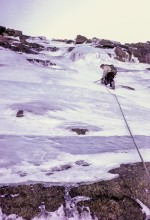 Ken Holmes climbing "The Escalator", Hell's Lum. February 1966.
© Tony Marr, Feb 1966
 Escape from Hell
© David Keogh, Jan 2018
 Taking The Escalator up to the top of hells lum.
© Jamie Skelton, Jan 2017
 Like a pig in s**t
© Tim Oliver
 Mike Hosted in "full flow" on Hell's Lum. January 1967.
© Tony Marr, Jan 1967
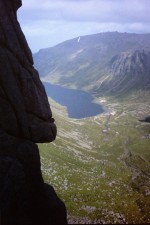
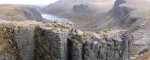 Viewing into Hell's Lum with the glacial trench of Loch Avon as the backdrop
© Andy Cloquet, Oct 2017
 Hells Lum Clean Sweep
© heavy, Jul 2009
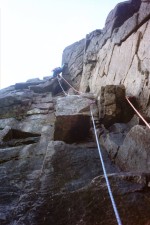
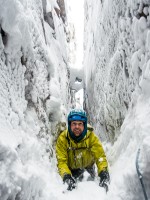
 First Chimney pitch
© CacCarnBeag, Feb 2017