In reply to Murko Fuzz:
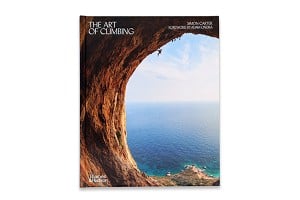
http://www.ukclimbing.com/articles/page.php?id=6888#
Not sure that it always has much to do with 'amazing light', in the article he answer these questions -
Some of your photos have a certain style to them, a desaturated background - how do you achieve that?
..sometimes in a complex image a little manipulation can help simplify the composition and help isolate and draw the eye to the subject. In software such as Adobe Lightroom, ‘vibrance’ and ‘saturation’ affects the colour intensity of different parts of the spectrum. Often for instance the rock + lichens, especially Chamonix granite, are so vivid that they can pull the eye away from the intended subject. Sometimes reducing the vibrance can mute these colours, whilst increasing the saturation a little can bring up the colours of the climber/skiers clothes and help isolate them in the image space.
What post processing tips can you give us for our mountain shots:
I try and just use post processing to further isolate the subject. It is all about balance and taste though. Some people like heavily processed images that tend to lean away from naturalism, others find this distasteful. I think it is all too easy to use too much Lightroom adjustment like ‘clarity’ which are often very obvious and leave haloes around high contrast areas. However some careful and isolated use of these tools, for instance using masks to slightly reduce saturation/vibrance in some areas and increase it others one can subtly help isolate the subject. I tend to try and edit in a balanced way so that the editing itself never becomes the subject of the image.
Post edited at 19:58