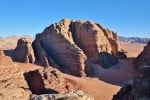
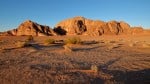
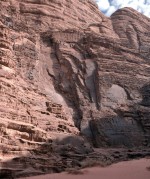
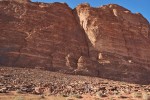
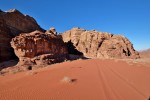
Photo gallery: Wadi Rum
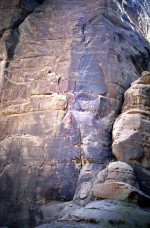
Click to read about Wadi Rum crag (Aqaba).
191 photos of this crag (showing 49-72)
Click on the small images to view the full size versions.

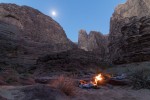
© petecallaghan, Jan 2019
© petecallaghan, Jan 2019
© Dominic Acland, Jan 2019
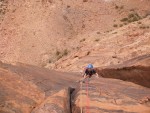
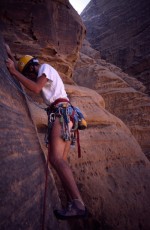
© AlexRenshaw, Sep 1988
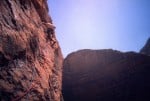
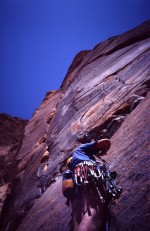
© AlexRenshaw, Sep 1988
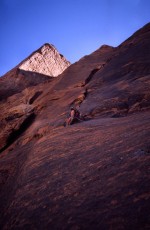
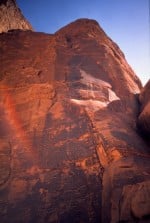
© AlexRenshaw, Sep 1988
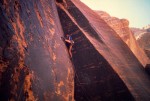
© AlexRenshaw, Sep 1988
© AlexRenshaw, Sep 1988
© AlexRenshaw, Sep 1988
© AlexRenshaw, Sep 1988

© Alix Buck, Sep 2018
© Robert Durran, Dec 2017
© Ben.o.neill, Mar 2018
© jondo, Mar 2018
© Robert Durran, Dec 2015
© Robert Durran, Dec 2015
© Robert Durran, Nov 2003
© Robert Durran, Apr 2014

© Robert Durran, Apr 2014
© Robert Durran, Dec 2015
© anne arran
© Inhambane, May 2017
© StuartBlackler, Nov 2013
© StuartBlackler, Nov 2013