Photo gallery: Orkney Islands
440 photos of this climbing area (showing 145-168)
Click on the small images to view the full size versions.
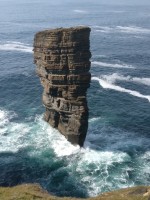 Waves breaking over the belay platform at the base of Original route.
© Geras, May 2019
 Hogboon
© Sarah De Rees, Apr 2019
 Sunset Wall
© Sarah De Rees, Apr 2019
Unclaimed photo
 Castle of Yesnaby Area taken from Sea Kayak
© Stuart Wagstaff, May 2019
Unclaimed photo
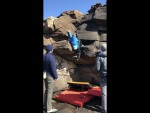 Sean on nuns on the run
© Ianrocc
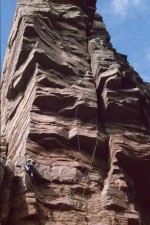 Old Man of Hoy
© Groundhog
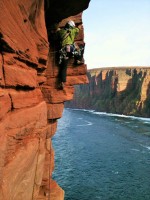 Mr Morgan on the second pitch, "please don't drop off" space is awaiting.
© Ronnyrioggs, Sep 2013
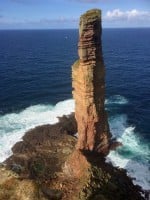 Spot the climber.
© Ray D, Sep 2018
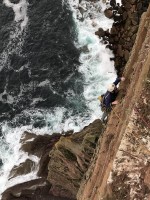 A hand full of sand
© Adam Coles, Sep 2018
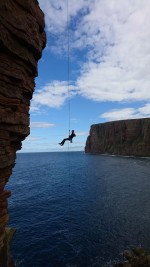 Final abseil of the day
© James Laing, Aug 2018
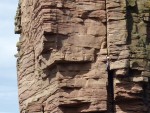 Crux move on the Old Man of Hoy.
© TP, Jul 2018
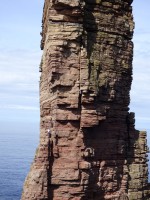 The money shot on the Old Man of Hoy.
© TP, Jul 2018
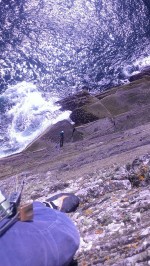 Looking down Spare Rib from after the overhang level
© partz, Aug 2018
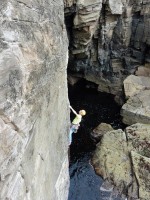 Gardyloo Gold E4 6a, Gardyloo Wall, Yesnaby, Orkney
© Neil Morrison, Jul 2016
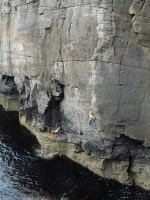 Gardyloo Gold E4 6a, Gardyloo Wall, Yesnaby, Orkney
© Neil Morrison, Jul 2016
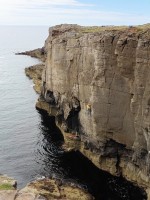 Gardyloo Gold E4 6a, Gardyloo Wall, Yesnaby, Orkney
© Neil Morrison, Jul 2016
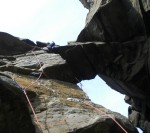 Storming the Bridge, E5 6a, False Stack Area, Yesnaby. First ascent.
© Neil Morrison, Jul 2009
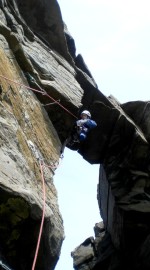 Storming the Bridge, E5 6a, False Stack Area, Yesnaby. First ascent.
© Neil Morrison, Jul 2009
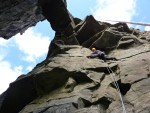 Ain’t no strange as folk E2 5b, False Stack Area, Yesnaby. Second ascent thinking it was the first.
© Neil Morrison, Jul 2008
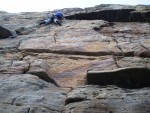 First ascent of Bleed it Dry, E4 6a, Arch Wall, Yesnaby, Orkney
© Neil Morrison, Jul 2007
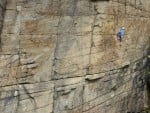 Guns in the Sky
© Andy Moles
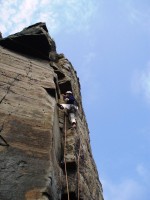 The Quarryman, E2 5b, Yesnaby, Orkney.
© Neil Morrison, Jul 2006
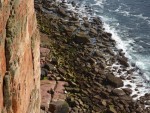 Roaring
© Andy Moles
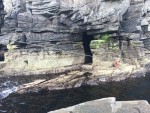 Dave taking the hard way to the Yesnaby Castle!
© kwoods, Jul 2017