Photo gallery: Causey Quarry
Click to read about Causey Quarry crag (Tyne & Wear).
57 photos of this crag (showing 1-24)
Click on the small images to view the full size versions.
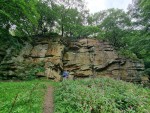
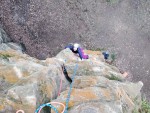
 Bit of fun exploring the left side of Causey Quarry
© tradlemming
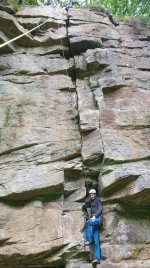
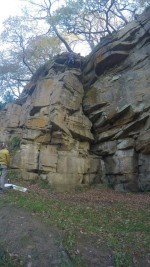
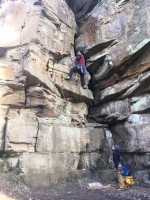
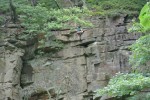
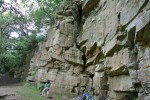
 Big wall at Causey Quarry
© tradlemming
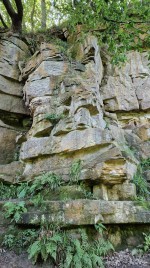 Photo of easy buttress routes on shorter LHS face of the crag.
© tradlemming, Aug 2023
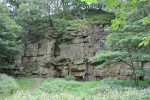
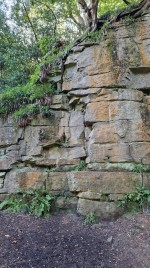 Photo of immediate LHS face of the crag. Area of newer lower grade climbs.
© tradlemming, Aug 2023
 Left wall of the crag and the Easy Butress route.
© tradlemming, Aug 2023
 The Mangler on top rope
© egg, Mar 2022
 Causey Quarry
© Leon_JF, Nov 2020
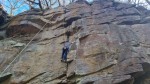
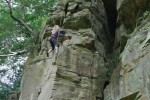
 Following up the corner of Hanging Crack.
© PeteY, Jun 2020
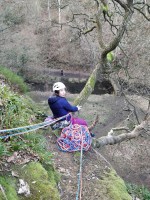
 Taking a comfortable and well-needed rest after the muddy crux start.
© PeteY, Jun 2020
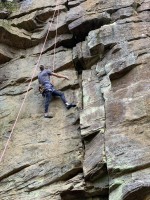
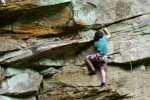
 Steph about to top out on Quarry Wall
© cocomosey, Feb 2020
 Steph on Quarry Wall
© cocomosey, Feb 2020
 Steph's massive belay
© cocomosey, Feb 2020
 Cutting loose at the top of Quarry Wall
© J_Climbs, Nov 2017
 The first ascent of The Hangman f7a.
© J D Bird, Jul 2017
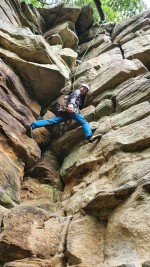
 Coming to the crux on crack and chimney
© Pevans, Mar 2017
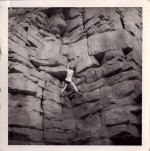 Hanging Crack at Causey Quarry October 1978
© nickprior
 Jim Sutherland on Dangler in Causey Quarry sometime in about 1978
© nickprior, Nov 1978
 Causey Crack, Causey Quarry
© John Lavelle, Aug 2013
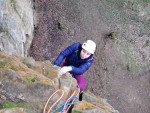
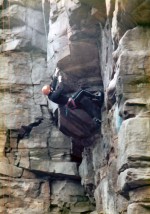
 The Mauler, Causey Quarry. Just after the hand traverse.
© John Lavelle, Aug 2013
 Mangler, Causey Quarry
© John Lavelle, Aug 2013
 Mangler, Causey Quarry
© John Lavelle, Aug 2013
 The Mangler, Causey Quarry
© John Lavelle, Aug 2013
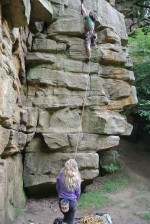
 Quarry Wall, Causey Quarry
© John Lavelle, Aug 2013
 Quarry Wall, Causey Quarry
© John Lavelle, Aug 2013