Photo gallery: Shelterstone Crag
Click to read about Shelterstone Crag crag (Moray).
199 photos of this crag (showing 73-96)
Click on the small images to view the full size versions.
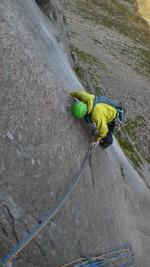
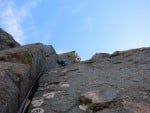
 Pitch 2 on The Needle - Long way to go!
© Lawrie Brand, Jun 2015
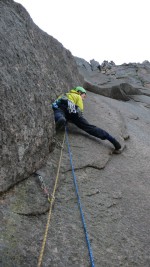
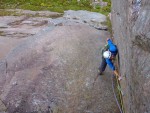
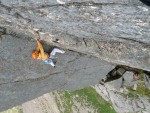
 1st pitch of Cupid's Bow
© AC1, Sep 2009
 Cupid's Bow
© AC1, Sep 2009
 Steeple Corner
© AC1, Jun 2011
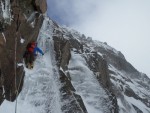
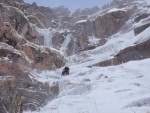
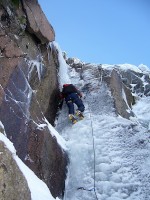
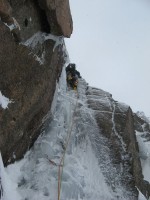 Crux Ice pitch of Sticil Face - a route definitely worth it's stars (it's also not all about this ice pitch!)
© kenneM, Mar 2015
 Gary at the start of the exit corner.
© Ewan Lyons, Mar 2015
 Gary leading P4 across to the exit chimmney.
© Ewan Lyons, Mar 2015
 Ewan leading the awkward groove above the belay on P3.
© GaryK, Mar 2015
 Gary placing protection on P2.
© Ewan Lyons, Mar 2015
 Ewan leading P1, heading towards the crux corner.
© GaryK, Mar 2015
 The Needle Crack.
© nedders, Sep 2014
 Spindrift off the top of Shelterstone
© RAB623, Dec 2014
 Seconding the second corner pitch...good solid lead from Dan in semi-wet conditions
© Johannes Petersen, Sep 2014
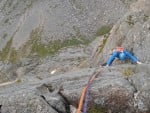
 Looking down the last pitch of The Needle
© Samuel Wainwright, Jan 1970
 Looks bigger from down here! Gregor and Duncan on the 2nd pitch
© Samuel Wainwright, Jan 1970
 The awesome 'Needle Crack' Pitch.
© CMcBain, May 2014
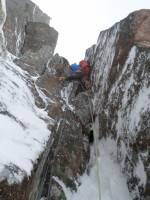
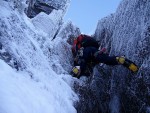
 Sticil Face - crux pitch
© paul79
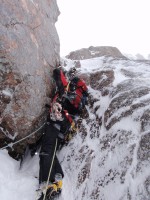
 Sticil Face - exit Chimmneys
© paul79
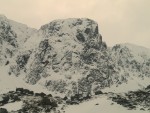 Shelterstone and Garbh Uisge on 2014-01-14.
© Masa Sakano, Jan 2014
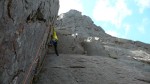
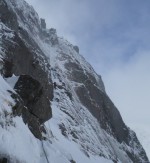
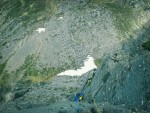
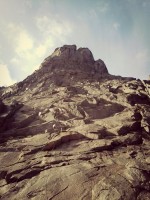
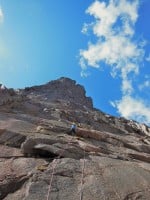 A sea of granite ahead!
© Alex the Alex, Jun 2013
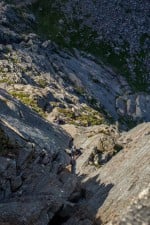
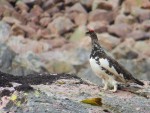 Ptarmigan Caught Half Dressed
© Alex the Alex, Jun 2013
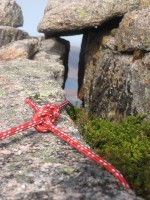 tat at the top of the Shelterstone crag
© Zoe Cockburn, Apr 2011
 Big exposure looking back down The Needle
© The Big Sender, Jul 2013
 The big corner on Steeple from Needle
© Lone Rider, Jul 2013