Posture in Climbing
Neil Gresham and Nina Tappin look at why posture matters for climbers and Nina provides some important exercises to help correct faults.
You can follow Nina on her Instagram here or get in touch via her website www.climbingphysiotherapy.com
Climbers surely have enough to think about without adding posture to the mix! With the ever-present concerns of reading sequences, dealing with the pump and avoiding falling off, it's no surprise that posture tends to get thrown to the bottom of the priority list, and this is perhaps why so many are prone to suffering from postural issues. So why does posture matter in climbing? What are the advantages and pitfalls and how do we go about correcting faults?
A definition of posture in climbing terms would be the position in which a climber holds their body when climbing and hence, it is closely interwoven with technique. A climber may unknowingly adopt a posture, which weakens them and makes them less efficient and which, if left unchecked may lead to injury as a result of their muscles, connective tissues or skeleton being stressed repeatedly. Sometimes these faults will be blatantly obvious, but in most cases they will be subtle and will take a well-informed training partner, coach or physiotherapist to spot. Conversely, a climber can consciously hold their shoulder blades, elbows, fingertips or hips in ways that enhance their strength and efficiency, whilst also avoiding repetitive tissue microtrauma, and clearly this is the goal. It can be difficult to talk about 'good' or 'bad' posture, as this subject invariably presents itself in shades of grey, so instead we need to consider the pros and cons of certain postures and more importantly, address movement habits that can lead to injury. In this article we will look first at the key postural do's and don'ts for all climbers before moving on to examine specific issues for climbers who have hypermobile joints.

Key posture tips for all climbers
1. Basic hanging position – shoulder blades engaged
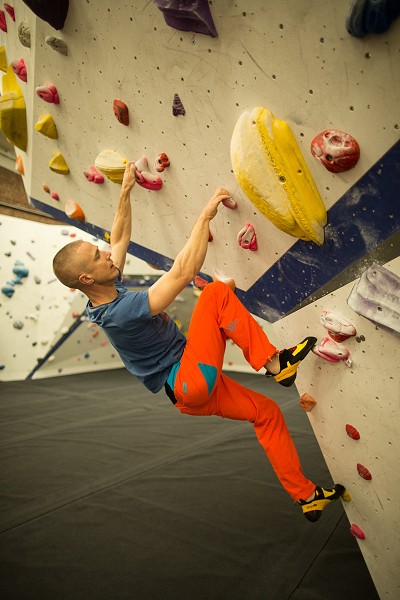
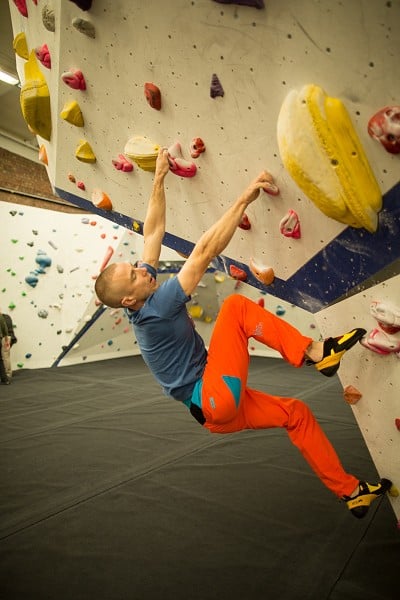
The group of muscles around your shoulder blades transfer force from your torso to your arms and vice versa, so it's vital to be aware of them. A good, general default climbing position when hanging on vertical or overhanging terrain is to keep the arms virtually straight, with a very slight bend in your elbows (a few degrees). The aim is to "set", "engage" or "contract" the upper back muscles (all 3 sections of the trapezius & rhomboids) slightly, so as to connect your fingers and arms to your torso. Ideally, when hanging in this position the rotator cuffs (the 'band' muscles that stabilize the shoulders) should also be engaged to help hold the position and this can be achieved by turning your elbows inwards slightly, towards your face. By contrast, if you are prone to sagging onto fully straight arms then this can cause repetitive strain on the shoulders, leading to pain and injury.
Fix it drills:
i) Shoulder blade activation warm-ups
It's vital to ensure that your shoulder blade muscles feel strong and warmed up pre climbing. Aside from the usual pulse-raiser, mobility exercises and stretch band work (which you always do, right?!) there are exercises that are aimed specifically at recruiting this chain of muscles. There are many options, but you're better off picking one or two exercises and actually doing them! Reach out in front with both arms, then 'shrug' backwards, squeeze your shoulder blades together (focus on pulling smoothly and evenly), hold for 3 or 4 seconds, breathe deeply and repeat 2 or 3 times. Do this again with your arms pointing upwards at a 45-degree angle.
ii) Shrug pull-ups (aka 'scapula-pulls')
A further supportive exercise, which can be used during warm-ups is to hang with both arms straight from a bar or jugs on a fingerboard, then squeeze the same muscles so as to shrug upwards into the 'engaged' position, hold for 3 – 4 seconds, lower back down and repeat 2 – 3 times. The aim is to encourage the upward rotation of the shoulder in order to maintain crucial space between the arm bone and the shoulder blade bone and thus to prevent impingement. Use a foot for assistance for the first set or two and then do one or two footless sets. The exercise can be performed either with the hands spaced at shoulder width (aka: "I's") or slightly wider (aka: "Y's") Imagine that your shoulder blades follow your arm bone position, so, if your arm is up in a deadhang or "I" position, then your shoulder blade should also be up and slightly back.
To check out further shoulder blade exercises and also scapular isolation exercises visit this link.
iii) Warm-up climbing drills.
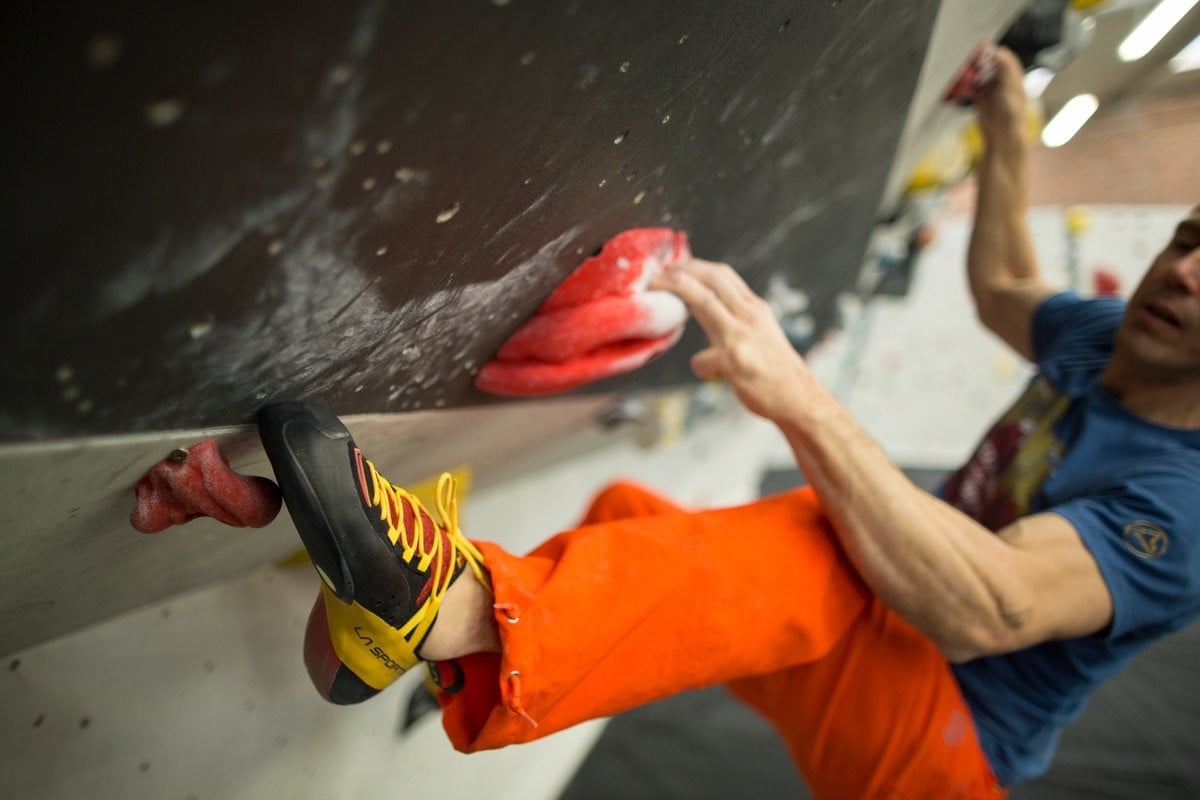
During warm-ups, climb at random on an easy part of the bouldering wall. Focus on never allowing yourself to 'drop' onto your skeleton and instead to squeeze your lats, lower shoulders and upper back (trapezius). Bend your arms fractionally and turn your elbows slightly inwards so your inner elbow crease faces your face. Suck your lower belly in a bit (and your pelvic floor, for those who are keen). Actively pointing your toes will promote tip-to-toe joint tension as well as helping you get more weight on your feet.
2. Minimize locking off (especially at 'full-lock') and climb fluidly
The second good posture tip for climbing is to minimize holding lock-offs for longer than a few seconds while climbing, especially with the arms fully bent closed. Likely culprits here are those with an excessively static or hesitant climbing style or alternatively those who have too much strength for their own good. At the very least, holding lock-offs will restrict the circulation in your forearms and cause you to get pumped and at worst, in the case of full-lock-offs, it places excessive strain on the elbow tendons. Note that from the perspective of injury avoidance, it is ok to train lock-offs at a more open angle (eg: 60 – 160 degrees) but the risks of training full-lock-offs will out-weigh the benefits. Of course, there will be times when holding a lock-off is necessary, for example when turning the lip of a roof or whenever it isn't possible to twist in on steep terrain. The message is always to question whether a lock-off is essential or if a more efficient solution is available.
Fix-it drills: Controlled momentum and twisting in
If locking off is a default climbing style for you then how can you make the necessary adjustments? As Dave Macleod points out in his superb book, 'Make or Break', the key is to adopt a more fluid climbing style. In other words, flow in and out of the locked-off position using controlled momentum. Drop the grade, get on vertical and gently overhanging routes, problems and circuits and make a simple rule that you're not allowed to stop or hold fixed arm positions. Repeat the command: 'flow and go!'

The aim is then to rotate your torso in order to make the reaches with arms virtually straight. We'll examine these techniques in detail later in the series.
When making long, reachy, powerful moves on steep terrain, a good tip is to look away from the hold you are snatching at the very last moment. This helps to add a bit more torso rotation, which will increase your reach slightly and keep your torso closer to the wall, as well as helping to off-load strain on the elbows.
3. Avoid 'chicken-winging'
Chicken-winging is when the elbows stick up high and out from your torso and many climbers are prone to doing this either when pumped, when making dynamic moves or when locking off. If done repeatedly, this places a huge strain on the inner elbows, fingers, shoulders and wrists. This is bound to happen from time to time when you are really pumped, but try and catch yourself doing it and try tucking your elbows in when you spot it.
When making dynamic moves, emphasise a small inward rotation of your elbow to prevent chicken-winging and to help your rotator cuffs engage and prevent your shoulders sagging. Point your toes, focus on hip thrust, tense your glutes and "hold your bum in"!
Fix it drills:
i) Warm-up climbing drills.
Drop the grade and make a concerted effort to tuck your elbows in close to the wall as you climb.
ii) Foot-on campus drills
Climb the campus board with your feet on the kick-board, keeping your lower elbow glued in to your side and you're rotating your upper elbow slightly so the crease faces inwards. You can either do basic 'ladders' (climb alternate rungs) or 'bump-ups' where you keep one hand low-down on the same rung and then keep 'bumping' from run-to-rung with the upper arm, then 'bump' back down and repeat, leading with the other arm. More advanced climbers can try this footless, but remember that the goal is not to train, as such, but to monitor elbow position and torso rotation with your reach, so you may need to do something slightly easier in order to get your form right.
Note that when using gastons (side-pulls that face towards your body), it is normal for your elbow to be out to the side (as if 'chicken-winging') and not tucked in. However, it can be helpful to gently engage the muscles in your middle and upper back to hold your shoulder blades back (not down), and in tension. See the previous article in this series for more info on the correct use of gastons.
4. Maintain your form under pressure
Ideally we always want to climb and train with "good form" or posture; however, when we push ourselves to our limits, it is inevitable that our form will deteriorate. In the case of elite climbers, the deterioration will be subtle whereas with intermediates it may be considerable, in spite of our efforts to maintain control. There are pros and cons here and it's vital to be aware of the issues. For climbers with postural concerns, or who are suffering injuries, the priority is to back off before technique and form drops significantly. After all, if we adopt bad posture at a time when our muscles are excessively fatigued then this can be a risky game. For these climbers, the long-term benefits of correcting posture will out-weigh the perceived short-term benefits of pushing harder in training. However climbers who generally have good posture may wish to push further, whilst always being mindful that the measure of a good climber is the ability to maintain form under pressure. We'll be looking at how to do this in the next article.
Key posture tips for hypermobile climbers
Hypermobility is when an individual has loose collagen tissue in their joints, meaning that they can bend them past 0 degrees. A climber with hypermobility will have a greater range of posture possibilities than someone who is not hypermobile, but with this carries the need to control and monitor their posture carefully. Bending past 0 degrees can be handy at times, such as when making long reaches or getting your hips close to the wall, and if the tissues surrounding the joint are robust enough to handle the load then all will be well. However, sometimes this is not the case and injuries may occur. Hypermobility is particularly common in junior climbers and hence it is crucial for coaches to be aware of the key issues. When monitoring hypermobility in climbers it is more relevant to look at the joints used most often in the sport, such as elbows and fingers rather than overall hypermobility.
1. Maintain a slight bend at elbow joints
2. Elbow creases facing inwards when using side-pulls
3. Maintain fingertip 'tension'
Climbers with hypermobility should be extremely conscious of their fingertip position (or 'posture') when climbing, so as to prevent harmful forces on the tip joints, which can lead to serious injury.
Fix-it-drills – Tip tension exercises
If you have cause for concern then use the following drills, which can also be used when rehabilitating a finger injury.
Squeeze ball – warm-up exercise:
Practice maintaining tip tension on a foam roller or a stress ball, 5-10 sec x 6-12 reps 1 set
Hangboard exercise:
Once warmed up, use a tension block, rock ring or fingerboard to do harder tip tension contractions. Use a fingerboard (feet on the floor) simply squeeze your fingertips in a half-crimped position, focusing on keeping the tips straight. Hold that tip tension at max effort for 3 secs x 3 sec rest 4 reps x 5 sets 2 min rest between sets and repeat 3-4 x week. (Reps and Sets taken from Tyler Nelson c4hp recent post on tendon stiffness).
A great tip is to hold a portable fingerboard upside down with one hand with weight hanging from it. The aim is always to look at the posture of your fingertips, and if you can't see them directly then use a mirror or get someone else to see if you are in or out of hyperextension.
See you back here in a few weeks, where we'll be looking at how to move smoothly and control our technique under pressure.
With thanks to Manchester Depot and Boulder UK.
For a Skype Physio consultation with Nina Tappin: www.climbingphysiotherapy.com
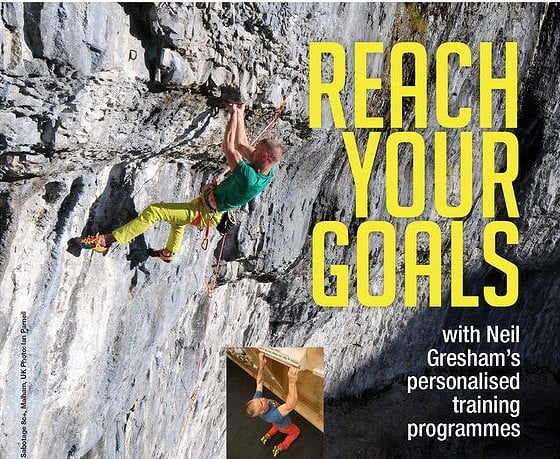
Neil Gresham is widely regarded as one of the world's leading voices in performance coaching for climbing. He has been coaching and writing regular training articles for national magazines since 1993 and has pioneered many of the methods that are used widely by coaches today. Neil is the current training columnist for UKClimbing.com and Rock & Ice in the USA.
He has climbed E10 trad, WI 7 on ice and in 2016 he climbed his first 8c+ at the age of 45 when he made the first ascent of Sabotage 8c+ at Malham Cove. Neil puts all his successes down to hard work, motivation and refinement of his game. He believes that work and family commitments don't need to limit our climbing goals provided we are focused and make the best possible use of our training time.
Key components of Neil's training programmes
- All programmes are based on response to a detailed questionnaire and are aimed at the ability level, weaknesses, strengths, goals and lifestyle constraints of each individual.
- Programmes can also be based on the results of optional benchmarking tests. See 'benchmarking' on this site.
- Programmes can be for all-round performance or geared towards different climbing styles: bouldering, sport, trad or competitions. They can also be targeted towards goals, weaknesses, trips or projects.
- You can choose between a full training programme (which includes all aspects of training) or a 'fingerboard-only' training programmes. Fingerboard programmes include advice on how to fit the sessions in with other climbing and training.
