Introduction and Warming Up
Why board training?
Are you climbing in the V3-5 region and feel that you've hit a plateau? Maybe you've built a base of strength and technique from general bouldering and are wondering how to kickstart progress into the middle and upper V-grades. If so, board training may represent the next step forward by adding structure and focus to sessions. Whilst it's fun simply to climb at random on pre-set boulder circuits, it's not always the best way to get strong. It can sometimes be a challenge to find problems that hit the sweet-spot in terms of difficulty, and often we either flash boulders or find them impossible. Furthermore, comp-style coordination problems are becoming increasingly prevalent at gyms and whilst they're great for developing dynamic movement skills, they're less suited to gaining pure 'pulling' strength, which is so often required for outdoor climbing.
By contrast, with board training we can tune the difficulty of problems precisely, whilst honing in on moves that represent weaknesses or goals, whether slopers or crimps, static lock-offs or dynamic moves and so on. The wooden holds on most boards will be kind on your skin, meaning that you can train harder and for longer. Above all, board training allows you to measure progress by returning to the same problems over time to see if you've progressed. In this series, we'll be examining the nuances of the training, techniques and associated tactics for board climbing. The focus will be on bouldering for strength and power and we'll look at circuit boards for endurance in a future series.
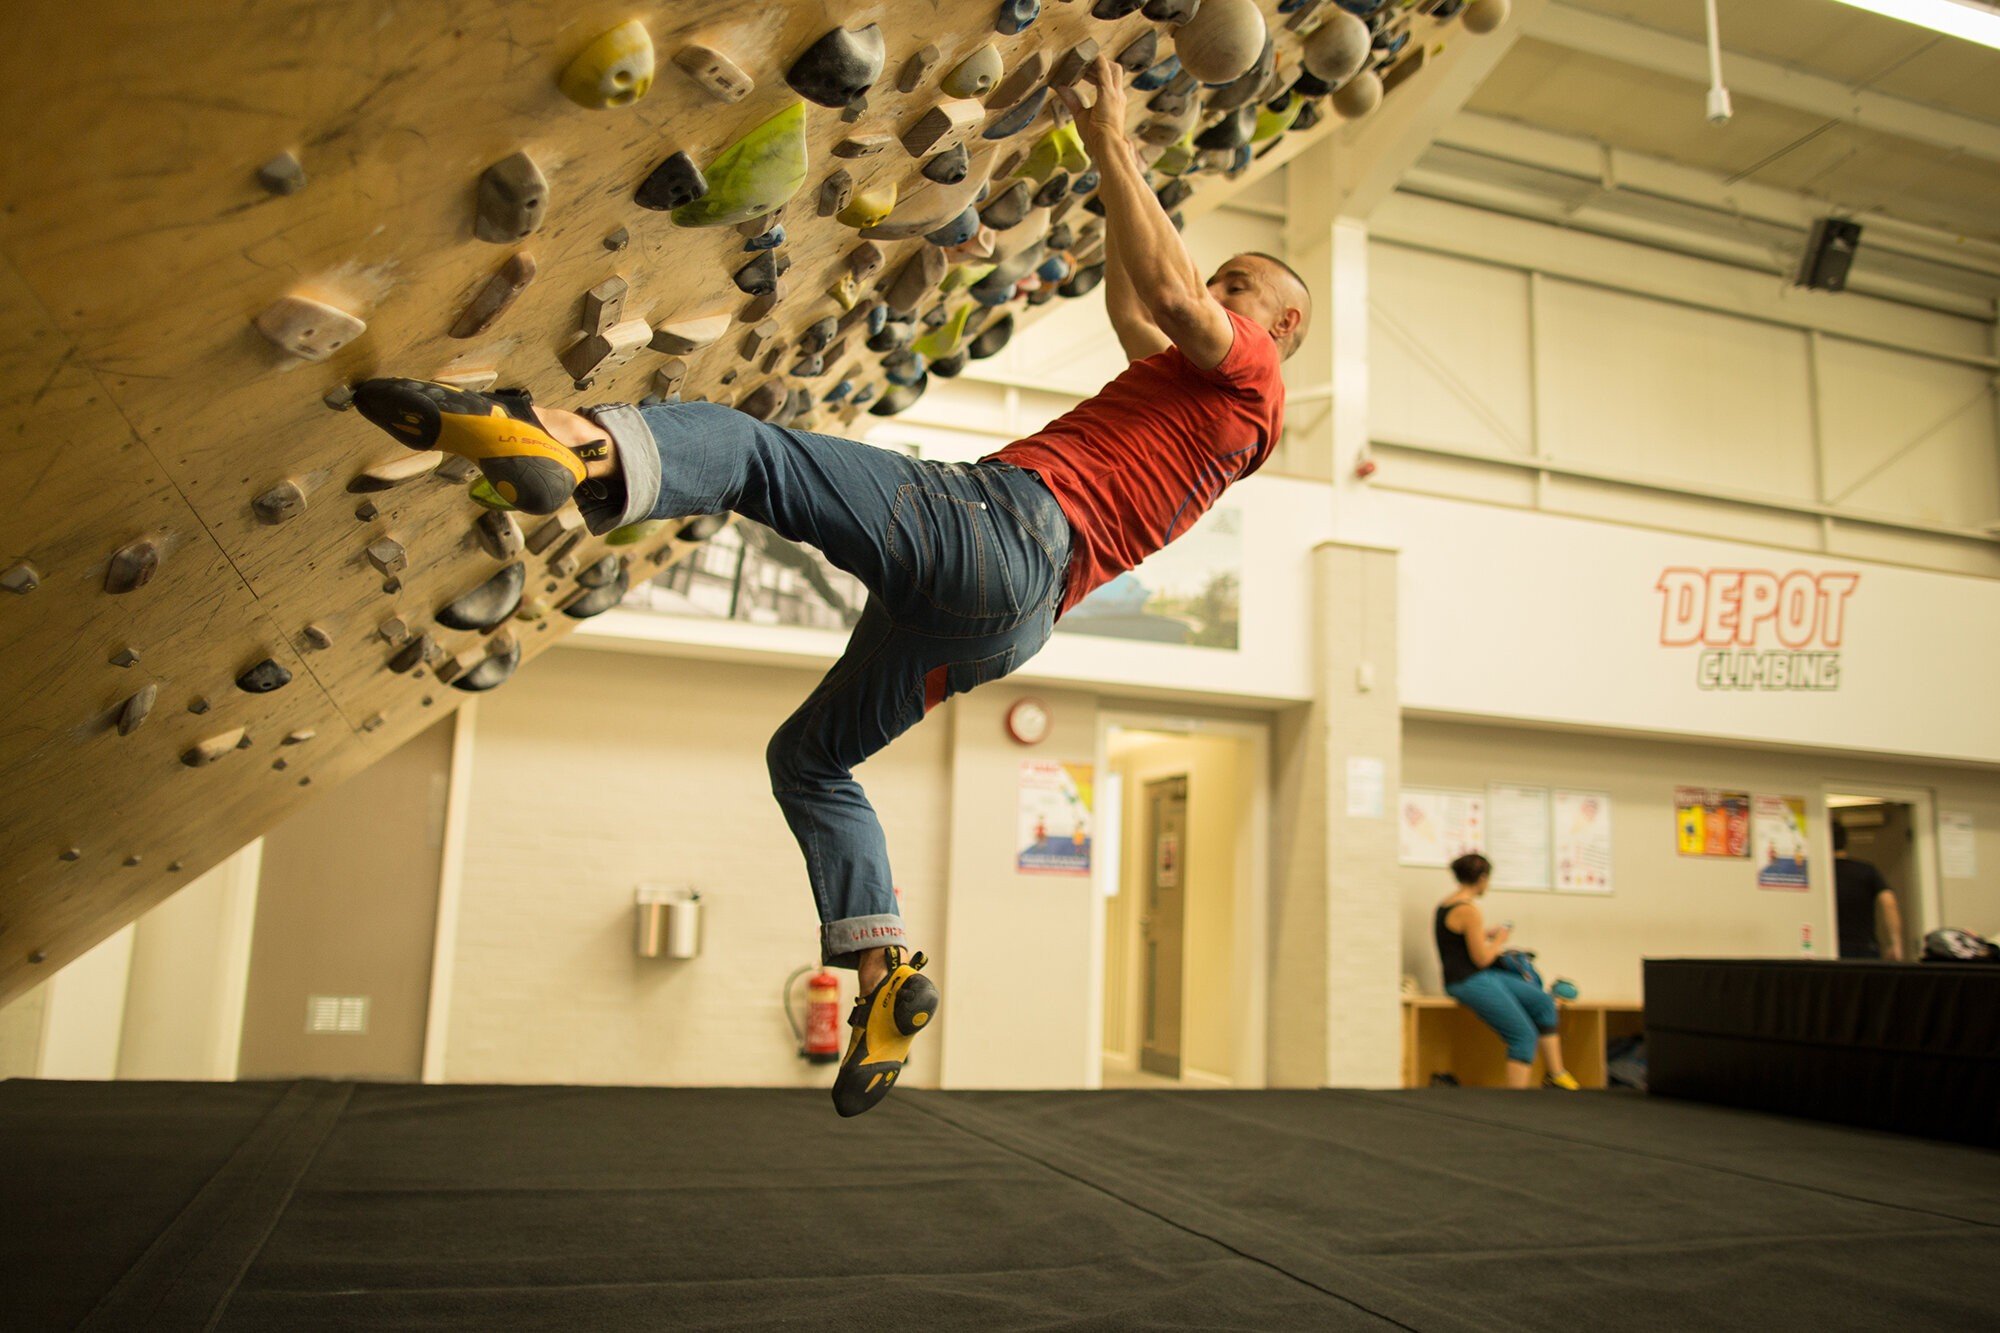
A key goal in board training is to focus on specific moves and holds which represent goals or weaknesses, such as undercuts or pinches.
Selecting the angle and level
Boards used to be the exclusive domain of elite climbers but designs are now becoming more inclusive. There's no reason why someone climbing V2/3 shouldn't use a board, as long as it isn't too steep and difficult and they start off cautiously by drip-feeding the training in small doses. However, the movement repertoire of board climbing is fairly limited, so it's important to mix it up with general bouldering for variety. Crucially, to train finger strength you need to be able to use finger holds (as opposed to jugs), so those operating in the V3-5 range will get more from a less-steep board, of say, 25-35 degrees overhanging, whereas if you're climbing V6+ then 40 – 45 degrees is ideal.
A great system is to have 2 or 3 different sizes of foothold as this massively increases the grade range and overall versatility of the board. The idea is that you can use the smaller and/or less in-cut footholds with the larger handholds and the larger footholds with the smaller and/or less in-cut handholds.
Styles of board

1. Handhold layouts
Some boards will be set purely with resin holds, some purely with wood and some with a mix. There are many possibilities and variations on themes but the main types of board are as follows:
i) Random
Random, splatter-style hold lay-outs lend themselves to aesthetic, free-style problems that are fun to climb.
ii) Symmetrical
This layout allows the first level of structure to be applied to board training as it's possible to climb the mirror image of problems.
iii) System-symmetrical boards
This set-up enables further structure to be introduced in training as the holds are grouped into themes and laid out in ladder tracks, meaning that you can do problems that only feature one particular type of hold or move (for example, as edges, pinches, undercuts etc).
2. Foothold layouts
i) Feet follow
With this style, you're allowed to stand on the handholds. It is popular on boards with resin handholds or random-layout holds and facilitates problems that feel intuitive and similar to climbing on rock. Feet-follow is less common with wooden handholds as heavy footwork can trash the holds and tarnish them with rubber marks.
ii) Random screw-ons only
Some boards are set with a random spattering of separate screw-on footholds. This means that the handholds stay cleaner and that the footholds are generally very small, thus testing accuracy and core-tension.
iii) Grid-screw-ons only
On system and symmetrical boards, separate footholds are usually arranged in a symmetrical grid pattern. This means that you can usually to find a foothold where you need one, which can be both a good thing and a bad thing in training!
3. Digi-boards
Digi-boards have added a new dimension of fun and versatility to board training. Many newcomers find it tricky to identify and follow problems amidst a sea of closely packed holds; not to mention the challenge of logging and recording problems when the traditional numbering system is used. However, Digi-boards make this whole aspect a breeze. By marking the holds on a touch-screen you can illuminate your problem and also record supportive info about the style – whether on edges, slopers and so on. You can also scroll up and down the grades to find a problem at the required level and even create your own tick-lists, as well as being able to mirror problems at the touch of a button. Systems such as Moonboard and Kilterboard enable you to share problems with a community and try identical problems anywhere in the world.
Warming-up
The warm-up instinct
There is so much more to warming up on a board than meets the eye. This is a crucial tactical procedure, which enables you to recruit strength and thus, determines how well you climb on the day. It's also a tool for gauging your recovery and working on weaknesses.
Start with a pulse-raiser (for example 2 – 3 mins of burpees or jogging on the spot), then do some mobility exercises (eg 4 – 5 mins of arm circles, hip circles and finger clenches) then move on to stretch-band work (with a focus on the shoulders and rotator cuff). No space for detail here, and this info can be found widely.
If you have access to an easier angled board or bouldering wall, do some very easy problems, or 2 or 3 stints of random climbing on big holds, say for 45-60 secs at a time. Don't do too much or rush your rests so that you get pumped.
If you don't have an easier angled board then do some 'floor walking' problems on the main board (simply move your hands around on the holds whilst taking most of the weight on your feet on the floor), or do some assisted deadhangs and pull-ups on the hangboard with your foot on a chair or in a stretch-band. Then it's time to start your progressive sequence of warm-up problems...
Warm-up problem sequencing
A key decision in board climbing is how many warm-up problems you should do at each grade band and how much rest to take between them. There's a crucial balance to be struck here - do too few and you won't recruit full strength but do too many and you'll fatigue yourself. For high volume sessions, it won't matter if you over-cook things slightly, (as this is could even represent and objective for the session), but for maximum intensity project sessions, the aim is to do just enough warm-up problems to recruit full strength without tiring yourself. So pace yourself and rest longer between problems as you increase the grade. The precise formula will vary for every individual so you have to experiment to find what works for you
Monitor the sensation in your arms and fingers carefully. You should feel your strength slowly escalating between problems but if you start to struggle prematurely then stop, take your shoes off, take a decent 10min break and resume at a slower pace. You can try mixing in a set or two of deadhangs and/or offset pull-ups to really get yourself firing on all cylinders but always rest sufficiently afterwards. The whole process should take between 30 mins and 1 hour before you can boulder at your limit but again this will depend on individuality and how you feel on the day. Be wary of locking into a fixed formula and always be prepared to shorten or lengthen your warm-up on the day.
Monitoring recovery in the warm-up
A crucial aspect of board training is using your warm-up to assess whether you've recovered from the previous session. By climbing the same warm-up problems in the same sequence, you can gauge how you feel. If you're straining on moves that you normally cruise then this is a sign that you haven't recovered (unless conditions are unfavourable, as we'll examine later). If and when this occurs, you can always lower your expectations and switch to a less intense, volume-based session or train endurance on a circuit board instead, but if you really want to train maximum strength then you need to be feeling fresh and recovered on your warm-ups.
Working weaknesses in the warm-up
A great tactic is to try to climb warm-up problems more statically and with greater control and composure with each session, as this is a sign that you're improving. However, beware of engraining an excessively static style and mix in some controlled dynamic problems to break the rhythm (don't fling yourself around so that you lose form). A further strategy is to work grip weaknesses in the warm-up. For example, if you struggle to keep your index finger bent when half-crimping then try your hardest to maintain this as you push up through the grades. Similarly, if you struggle open-handed then try to use a drag grip in your warm-ups.
Use your warm-up climbs to train weaker grips at sub-maximal load levels, whether half-crimp or open.
Mirroring warm-ups
A popular debate is whether we should always do exactly the same warm-up problems in the interest of monitoring progress and recovery, or whether we should keep changing things in order to maximize variety and work on technique. A good compromise here is to use the mirroring feature on a digi-board, as this will enable you to get the best of both worlds, on one hand changing the problem, yet on the other hand, keeping it the same!
Look out for the next article in this series where we'll be delving deeply into the training methods.


