

Tactics and Planning
Neil Gresham looks at the tactics and nuances of training on a board and explores how to schedule and plan sessions.
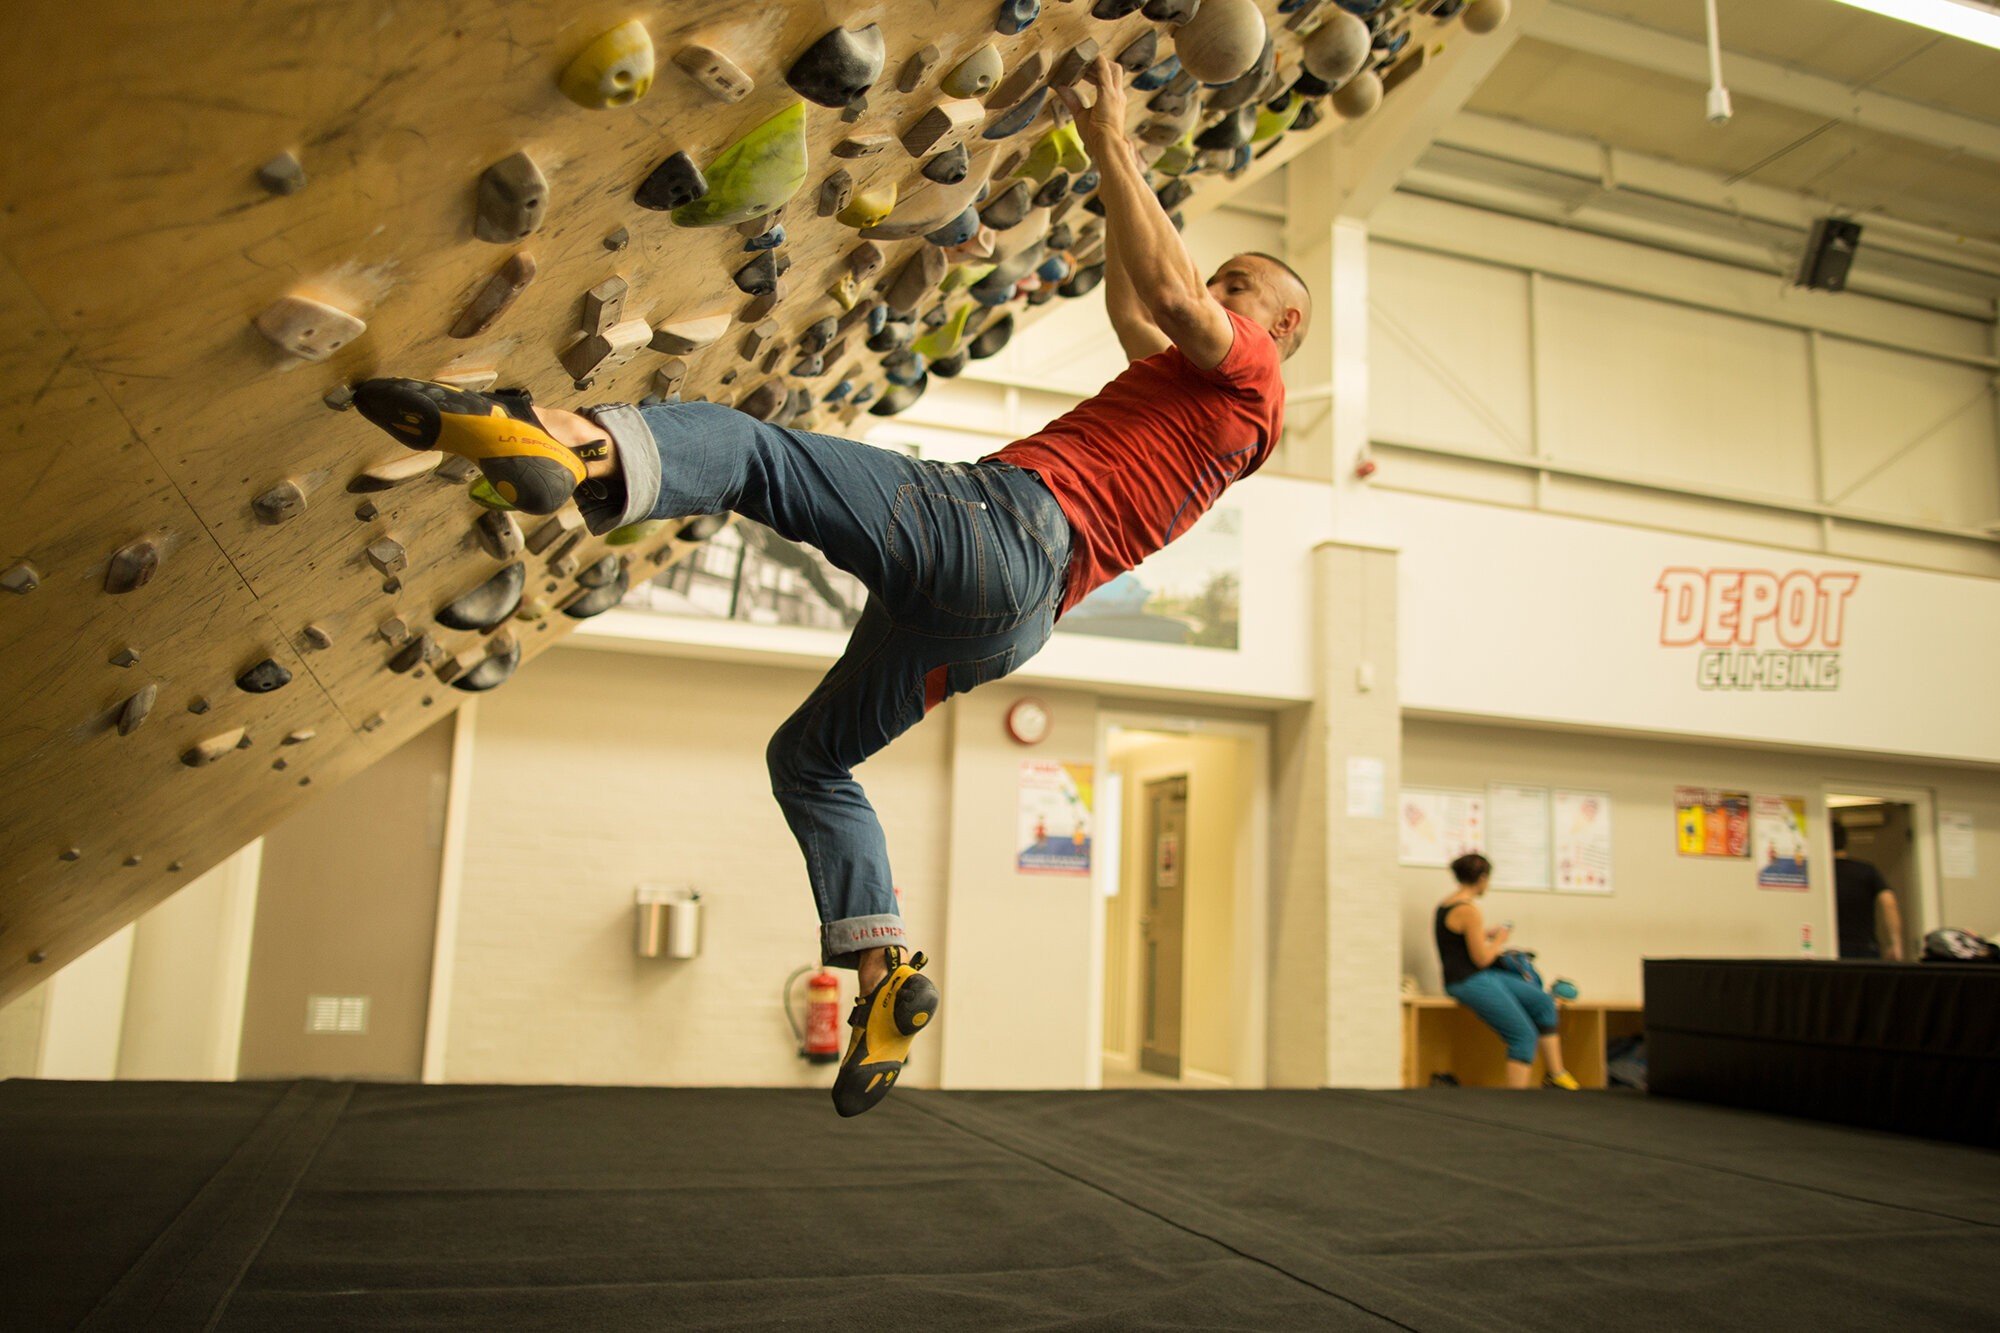
If you're new to board training then hopefully you've been putting some of the tips from this series into practice already. Having looked at the training methods, now it's time to explore the inner tactical game and look at how to plan a training campaign.

Looking first at tactics, the 'dark art' of board climbing can teach us a wealth of lessons, which we can apply directly to other areas of our climbing. How long to rest? How do conditions affect things? How to work moves and unlock sequences efficiently? These are all skills that directly influence our success on the crags. It is a lifelong quest to refine the strategies and many hardened veterans will tell you that they learn a new lesson virtually every time they train. This is one of those things where the more you look the more you will find and the only way you can miss out on the benefits is to tell yourself that you're an expert.

Resting tactics
Strength training on a board is all about quality, especially in the most intensive project sessions. This means resting long enough between attempts to give yourself the best possible chance of success, and if this means spending 90% of your time sat on the mats then so be it. The temptation is always to rush your rests, and we must constantly force ourselves to rest longer than instinct dictates in the interest of maintaining productivity.
A rule of thumb is to take one minute's rest per hand-move completed, so if you do 3 moves and fall off then rest 3 minutes. Even if you only make one move (or fail on that move) then you should still rest at least a minute before going again. The classic mistake is to get straight back on but it rarely works and we nearly always do worse on the second try. If you feel cumulative fatigue start to set in then take your shoes off and take an 8 -12 min break and resume.
Analysis and brushing
The challenge is to use rest times productively. The smarter climber uses visualization to correct mistakes rather than thrashing away on the problem. Consider the following checklist:
- Can you get more traction from the handholds? Eg: Is there a thumb-catch that you've missed? Can you grip a different part of the hold or change your gripping method, (eg from half-crimp to chisel or full-crimp)?
- Can you get more from the footholds? Eg: Can you turn your foot slightly or use your outside edge instead of the front of your toe, can you stand on the corner of the foothold instead of the front of it, and so on. Is an alternative foothold or body position viable?
- Can you get more momentum from the same position? Eg: more push from your feet and/or more swing from your hips.
Be meticulous about brushing the holds. This isn't just about improving the friction – it's all part of the process of gaining familiarity with the holds and it's also courteous to other climbers. Retired toothbrushes don't cut the mustard and it pays to invest in some decent brushes.

Tricks for working projects
The best climbers are not necessarily the strongest but the ones who are ruthlessly efficient at unlocking projects. It's so easy to get frustrated and squander energy and board training enables us to refine this crucial procedure. There are so many tricks of the trade; for example:
Top-down links:
By starting, say, at the halfway point and climbing to the top, then starting from one move lower down, until eventually you climb the problem, you will teach yourself to climb successfully to the top and be familiar with how the top moves feel when fatigued (as opposed to constantly falling near the top and thereby 'teaching yourself' to fail). Similarly, if a problem has a very hard start and an easier top section, you should still make sure you spend sufficient time working the top so you don't panic and blow it on the occasion when you crack the start for the first time.
Hold the end position:
If you're struggling to make a tricky low-percentage dynamic move then try stepping onto it from the floor and holding the target hold. This will teach your body what position it needs to map into and also give you the confidence that you can hang the hold.
Power-spotting:
Ask a training partner to hold your waist and take 10-15% of your weight whilst guiding you through a troublesome move. Again, this will help you learn it and show you that, perhaps, it's not as far away as it seems.
How long to work on a project
We've all heard the expression 'one move too many' and there's a substantial body of anecdotal evidence which suggests that many injuries occur when a climber succumbs to the obvious temptation of working the same move or problem for too long. This doesn't mean that we should be scared of working projects but rather that we should be disciplined, strategic and develop a 'sixth' sense for when it's time to move on. Very rough guidelines are to avoid attempting the same problem for longer than half an hour but for those new who are new to board climbing it could be more like 15-20 minutes and for elites it could be longer. The guiding principle is to give each problem your absolute best and to move on as soon as you detect a deterioration of your strength levels. Always take a short break of, say, 8 to 12 minutes between each problem.
Tips from the Coalface: Hamish McArthur:
"Something important to keep in mind (at any level of board climbing) is the risk of injury associated with throwing yourself at the same holds day in day out. When you only have access to a single board it's very easy to get carried away and treat it like a session at a normal climbing wall. I have personal experience of this when lockdown started and I was spending several hours a day climbing on the same holds at the same angle on effectively the same moves. Unsurprisingly, I've picked up small tweaks in my shoulders and fingers - almost like repetitive strain injuries from over using the same muscles without letting my body go through the full range of movement it is used to. Luckily for me I noticed these tweaks whenever they surfaced and had the common sense to take it easy for the rest of the session, making sure the stretch my shoulders and roll out my back to prevent any small injuries from snowballing into something larger. So, whilst board climbing can be instrumentally used, just keep in mind that the strain on your body is much higher than "normal climbing" and you should treat your board with the respect it deserves..."

Working mirror versions of projects
When working projects on a symmetrical board, there are two approaches when it comes to in working the mirrored version. One is to wait until you've completed a problem before moving on to attempt the mirror image, and the other is to work both versions simultaneously. The first option perhaps feels more intuitive and exciting; and once you've completed the first version, you can test your skill in completing the mirror more quickly. However, purely from a strength-building perspective, it makes less sense to strengthen one side of the body in a certain position without strengthening the other side. This would be rather like doing dumbbell curls with your right arm for two weeks and then with your left arm for the next two weeks; and to an extent, the gains on one side will be lost as you work on the other.
Conditions
Major fluctuations in temperature and humidity may have a significant impact on the outcome of a board session, both from a physical and psychological perspective. The bottom line is that you're likely to climb your best when it's fairly cool and dry. Experienced board climbers are able to assess the conditions immediately on the warm-up, based on how the holds look and feel. Tell-tale signs that you're in for a tough time are when the holds don't look as white as normal because the chalk isn't bedding in, or that your tips shed chalk quickly and are pink when you finish the problem. Above all, on 'bad conditions days', you just won't feel strong, seemingly without explanation. So often we are too quick to blame ourselves and it feels like excuse-making to blame conditions, yet this is a very real phenomenon, which needs to be factored in.
If you sense that conditions are really bad on the day then adjust your expectations. You're unlikely to do your project, so either don't try it or at least, don't expect too much! Maybe just work the moves and treat it as if you're training with added weight! This can feel demoralizing but so often we return and destroy the project the next session when conditions are in our favour. Alternatively, change plans and go for a volume-based session. If you decide to return to a 'benchmark' board project, which you climbed in winter, on a hot humid Summer's day then don't judge yourself too harshly if it doesn't go well. Even if you fail around, you may well be stronger than you were when you did it! This is something we can't control, so it's all about staying positive and rationalizing the outcomes of things.
Planning board sessions

Introduction
Climbers will discuss optimum day-sequences for training until the end of time. The variables are infinite – the level of the individual and the way they respond to workload, the end goal, the presence of other forms of training and so on. We must move away from looking for a 'perfect' training structure, as there can be no such thing. Even when we find a successful formula, it will soon expire and we'll need to change it. Instead, it helps to understand the underlying principles of planning so we can adapt our strategy to changing circumstances and evolve our game. Above all else we need to learn from our own feedback. Here are some worthwhile general 'mantra', which apply predominantly to max intensity, project based sessions:
"Quality over quantity"
With project sessions, don't judge your session by how long you spent at the board but how well you did on various moves. Rather than thrashing away to the point where your fingers uncurl on easier problems, it pays to finish project sessions feeling that you had more to give in the interest of promoting a faster recovery.
"Pace yourself and play the long game"
It's easy to think that all the mutants in the gym got strong overnight. They didn't. A common mistake is to get frustrated and rush the process in the pursuit an improvement curve that is unrealistically steep. If you're turning up at the touchline feeling broken and disheartened then something is wrong.
Setting targets
The key is always to turn up for a board session with clear targets to aim for as this will motivate you to try hard and remove that element of 'not-quite knowing what to do'! Clearly this applies to sessions on your usual training board and is less relevant when you visit new boards for the first time, although that said, you may be able to conduct a pre-planned session on a new board with a bit of discipline and cunning. Let's look at the measures for the two main types of session:


i) Intensity / project sessions.
Here the simple gauge of improvement is whether you can make harder moves and ultimately, do harder problems. However, it is vital to break progress down into baby-steps. For example, if you can latch a hold that you could only touch previously then you've improved, or if you can do a move statically that you could only do dynamically previously then you've improved.
When you complete a project, you can try doing it again next session to see if you can do it more easily and with greater control, and perhaps even do it a couple of times. After that, you'll abandon it in favour of something new and harder. The process is a conveyor- belt, with old problems being completed, consolidated and then abandoned, with new harder ones coming through.
An alternative to trying a new project is to try the same problem using smaller footholds, or if you have an adjustable board then tilt it over a 5-degrees or so. Advanced climbers, e.g, those climbing at least V7-8, may choose to add weight (eg: in small measures of 1kg at a time) but those who are new to board climbing would be prudent to avoid this.

ii) Volume sessions
With mileage-based sessions, the aim will be to do more problems overall or to do a similar number of problems but to increase the grade of some of the problems (say by one grade). Usually, you'll do this at the higher grade-bands and it's worth treading cautiously if attempting to increase the grade of warm-ups. In some cases, the goal might be to reduce recovery between problems (or blocks of problems) but this will move the session more in the direction of strength-endurance as opposed to base strength.
Combining other types of training
A great combination is to finish board sessions with some arm and core work on a pull-up bar, such as weighted or offset pull-ups, lock-offs, leg-raises and front-levers. However, avoid finishing with deadhanging for strength, unless you are very disciplined and stop the board session early so as to save strength in your fingers. Coaches and climbers will have their views about whether or not it makes sense to move on to endurance training straight after a board session. Some believe that this is simply too much and will only serve to dilute the training stimulus and create the need for longer recovery between sessions. Others (usually those at an elite level) will find that it works well! It depends on the individual, how hard you push in the sessions and a host of other variables.
Board sessions can be rounded off with specific arm and core exercises…


325A7470: Leg-raises
Warming down
To promote recovery and reduce susceptibility to injury in the long term, it's good to end sessions with a few short stints of easy movement on an easier-angled wall with big holds. You can then move on to a brief stretching routine which is centred around the upper body and includes forerarms, shoulders, pecs, lats and upper-back.
To warm down, finish sessions with some static stretches for the upper body.


Day sequencing
It's impossible to make generalisations about the optimum sequence for training days, as so many factors come into play. However, there are some rules of thumb that we can observe when making plans. Firstly, if the overall goal of a training phase is to build 'base strength' or endurance then it may be viable to commence sessions when not feeling fully recovered. However, if the goal is to train maximum strength there seems little point in turning up at the touchline feeling incapable of pulling at your hardest and climbing at your best. Some climbers will default to a day-on-day-off sequence whilst others will take more recovery and go for 2-on-1-off. The crucial point is not to react or be influenced when we hear stories of the top athletes training hard every day. Whilst a very small minority are blessed with the genetics to be able to get away with this, the truth is that much of this talk is bravado and most will cycle their training, meaning that the sessions will vary in nature and include a mix of strength, endurance, conditioning active rest and so on.
'Little and often' Vs 'longer and less'
When planning training sequences, it's worth considering the options of doing shorter sessions with less rest in between, or longer sessions with more rest in between. Once again, we see that no one strategy is superior and it makes sense to experiment and to cycle the two different approaches (ie: try one for a while, then try the other next time). The 'little and often' approach is perhaps less popular with climbers as most prefer to 'get their money's worth' at the gym and leave feeling like they've done some work. However, if you're very disciplined and do short sessions (of, say, 90 mins maximum), and stop when you still feel fresh, then it may be possible to climb on 2 or 3 consecutive days.
Split routines
If you're going to try using the board on several days consecutively then (as well as keeping sessions short and high quality) a good tip is to rotate the styles of problem slightly from day-to-day, for example, climb on edges and in-cut holds on the first day, slopey, open holds on the second day and juggy, powerful arm-based problems on the third day. Another approach is to do this using an intensity scale: for example do very hard projects on day 1, slightly easier projects on day 2 and then go for mileage on mid-grade problems on day 3.
Rest day training
On rest days it usually makes sense to do some cardio, stretching and above all, to train your antagonist (opposition) muscles (e.g: forearm extensors, pecs and triceps) in order to prevent strength imbalances, stave off injuries and build supportive strength. Examples would be to use a forearm extensor trainer and to do a routine that consist of press-ups and floor exercises or suspension (TRX) exercises such as 'I's, 'Y's and 'T's'.
A great option for rest days in between board sessions is to do a strength-conditioning routine, which is focused on the antagonist (opposition) muscles:


Monthly scheduling
The possibilities are infinite when it comes to positioning board sessions in an overall training plan, but there are some useful guidelines, which can be applied. If you're about to embark on a prolonged phase of board training, it often makes sense to start with a few weeks of general bouldering on plastic, to build a broad foundation of strength and technique. After this, most will favour volume-based, 'base strength' sessions initially, before moving steadily and towards more intense, project sessions. Put another way, a classic mistake is to jump on hard projects too early before building a base.
"Train in waves"
You can't keep pushing forward all the time and it's inevitable that if you keep trying to achieve PBs and next-level projects, you will start banging your head against a brick wall. You need to advance the cavalry, then retreat for a while and so on. When you sense that your project campaign is running dry, drop it back, focus on volume, build back up to hit the same point again in several weeks' time and you are likely to over-shoot it.
An example of a typical sequence might be as follows, with each phase lasting anything between 1 and 6 weeks, subject to the type and scale of the plan you're constructing.
1.General base + general fitness (boulder on plastic)
2. Specific base (mileage-based bouldering on the board)
3. Medium intensity (easier projects)
4. High intensity (hard projects)
5. Top up other areas of training eg. endurance.
6. Short break
REPEAT > >
Freestyle phases Vs Training phases
There are few climbers and coaches who believe that it's a good idea to follow a structured plan year-round. It pays to switch between planned training periods and periods where you treat board climbing simply as fun and use whim to guide your sessions. During 'freestyle phases' there is no goal other than to try nice problems with your friends and go with the flow. This is in the interest of sustaining motivation and nurturing creativity and intuitiveness.
