Handholds and Grip Technique - Part 1
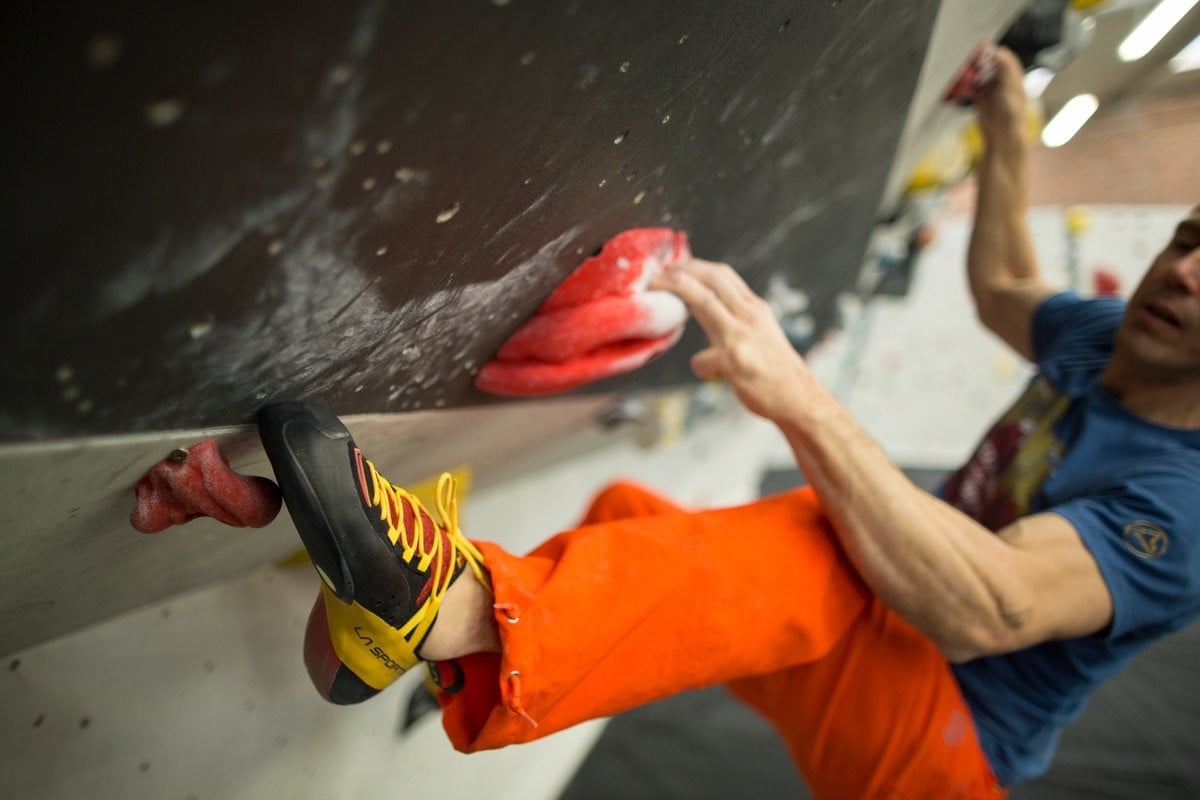
Page-one of climbing technique is making the best use of the holds, and this became apparent when we looked at footwork earlier in this series. Climbers have a habit of analysing footwork but we often take it for granted that we are gripping the handholds the best way. Yet a fractional re-adjustment of grip so often proves to be the key that unlocks a stubborn boulder problem or crux move. Similarly, the correction of a recurring gripping fault may cause us to save considerable amounts of energy on long endurance pitches. Many novices are surprised and baffled by the sheer variety of holds that we encounter indoors, not to mention on rock, but fortunately, gripping techniques fall into a relatively small number of categories. In this 2-part series, we will look first at how to grip edges before moving on to other types of hold in the second part.
Gripping Edges
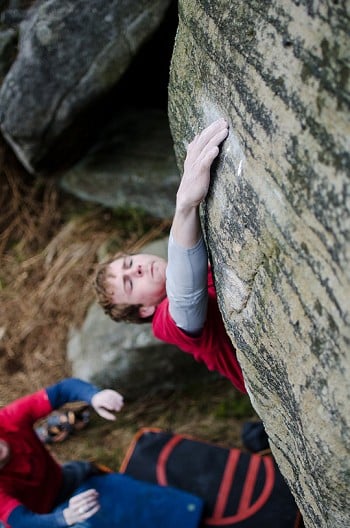
The most common trap is to shy away from certain holds (usually slopers or rounded holds) in favour of others (usually in-cut, positive ones). At the outset, this is often more to do with lack of confidence or an understanding of the required techniques, but the snag is that weaknesses start to develop as we get stronger at our preferred holds. The fingers always work isometrically (statically) in climbing, and a basic law of isometric strength training is that we only experience strength gains very close to the angle that we train at. In short, the only way to develop strength for a certain hold or grip is to practice it! In this article we're mainly going to focus on the technical aspects of gripping, but with a few supportive recommendations for training thrown in. Above all else, to get more proficient at using holds that you dislike, you'll need to put your pride on one side and remind yourself that the goal is to be a versatile climber, not a one-trick pony!
Using edges
Half Crimp
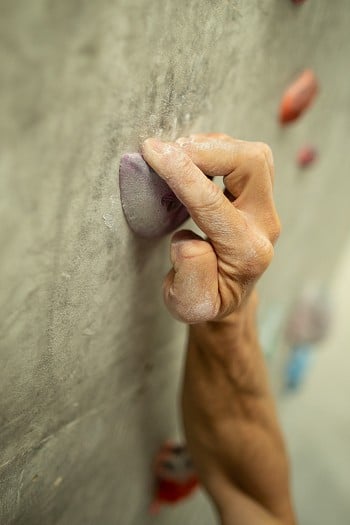
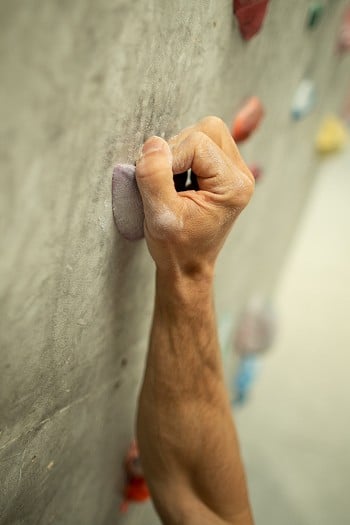
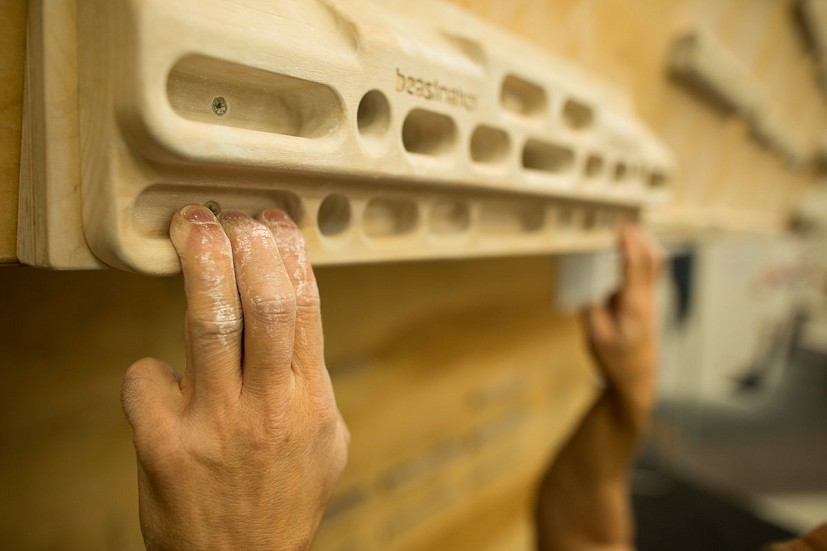
The half-crimp is the utility grip, which is used for most flat, sloping and in-cut edges. The index, middle and ring fingers are bent at 90 degrees, the pinky may be slightly straighter and usually contours the hold, and the thumb either rests next to the index finger or pinches the side of the hold, if possible. The half crimp is also the safest grip for general training as it has it's own built-in 'shut-off switch', meaning that it usually fails and opens-out before placing harmful loads on the tendons (please don't hold me to that statement!)
Chisel (aka: 'campus crimp')
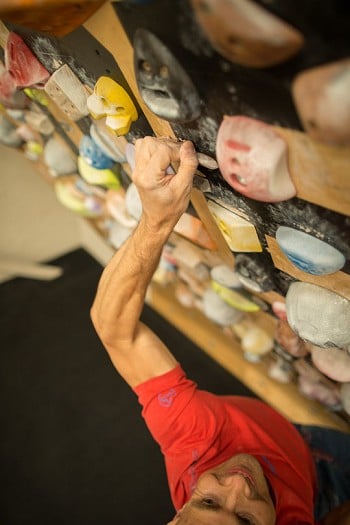
An important variation on the half-crimp is the so-called 'chisel', where the index finger is kept straight and the other three fingers are bent at 90 degrees. Climbers will debate the performance differences between this and the 'true half-crimp' forever but the reality, no surprise, is that you'll tend to prefer the one that you practice most. Finger length and the nuances of the hold may also come into it and it's good to experiment to see which works best for you on certain holds. When using the chisel, it is worth considering that the index finger is being used more passively (and hence not being 'trained' in the same way as the other fingers), so sound generic advice is to always try to maintain a 'true half-crimp' (keeping the index finger bent at 90 degrees) rather than defaulting to a chisel. If you're good at half-crimping you will be able to 'chisel' but not vice versa!
Full crimp
Going back in time, this was the grip that my generation used for every type of hold, including slopers! The full-crimp grip involves fully closing the fingers and hyper-extending (bending back) the first finger joints whilst locking the thumb over the index fingernail. So why is it less popular today? The answer is that many people (myself included) got injured once too often from full-crimping and re-trained themselves to rely more on the half-crimp. Meanwhile, bolt-on holds have evolved and are now far more user-friendly and generally suited to the half-crimp than the hideous sharp edges that we used to bone down on. The majority of new climbers don't see the point in full-crimping, even on micro edges and why bother if the half-crimp feels stronger, safer and more comfortable?
A key question is whether it is still worth practising and developing the full-crimp and climbers certainly have their views on this! Some believe that on tiny micro-edges the full-crimp still offers more traction, although caveats such as finger length will complicate the picture. In short, if your fingers are either very long or different in length then full-crimping is less likely to suit you but let's minimize the biomechanics here. If you really have never practised the full-crimp (and the half-crimp or chisel seem to work well for you) then it's unlikely that you're missing out. If you've been a 'full-crimper' historically and are considering embarking on the journey of re-training yourself to use the half-crimp then good luck, as it took me nearly a decade! The key is to use the half-crimp on all warm-ups and mid-grade climbs and to see how hard you can push it before resorting to the full-crimp to bail you out of trouble, and of course, to use it for all fingerboard and campus training.
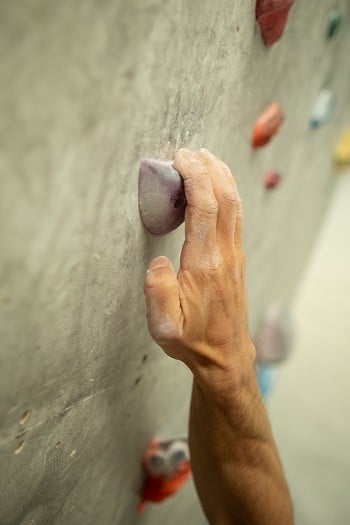
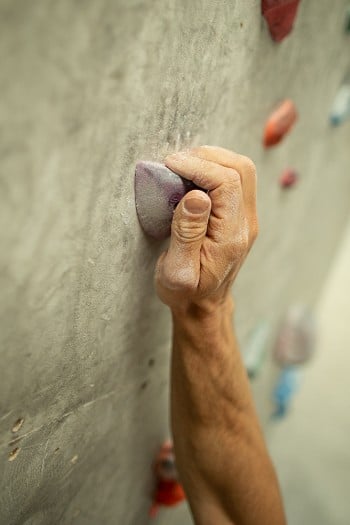
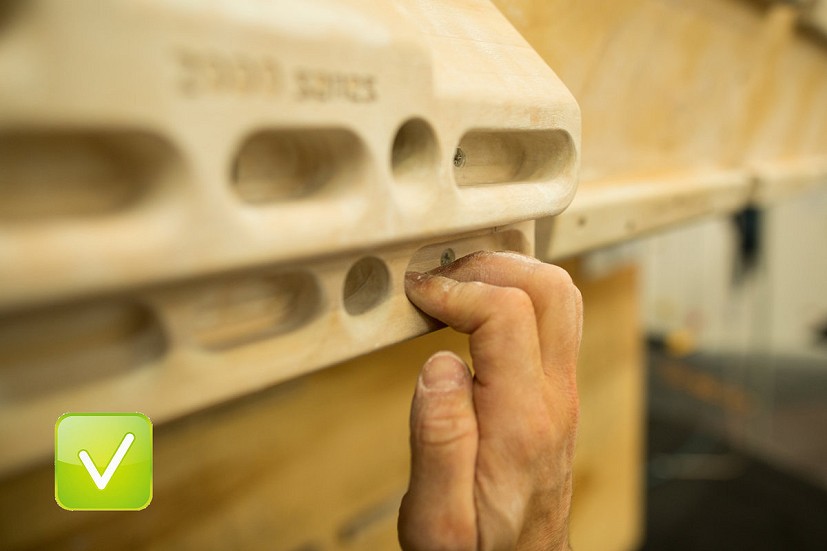
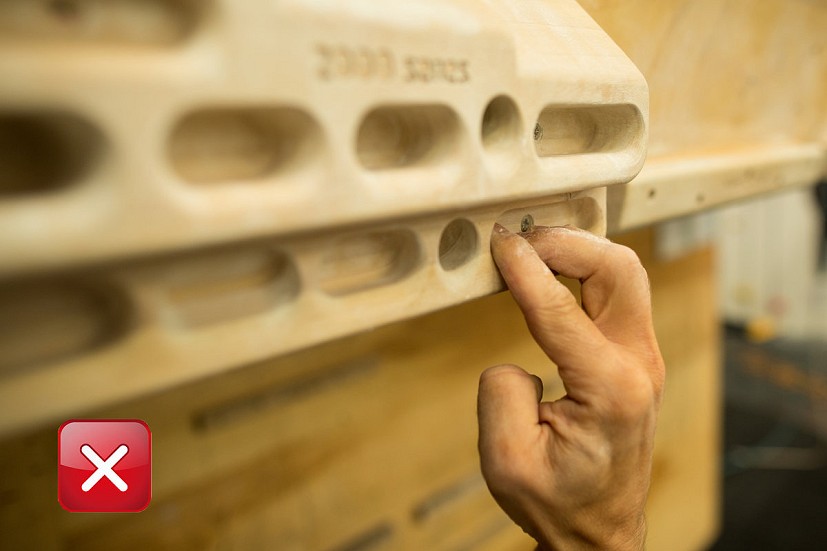
All climbers know the drag or open-grip to be the default for pockets, yet it is often possible and beneficial to drag on edges. Simply take your little finger off and hook the first joints of the index, middle and ring fingers over the hold. The drag is a more passive grip than the half-crimp, relying more on friction and tension in the tendon than 'pure strength'. The catch is that on really hard moves it won't provide as much traction or stability on edges as the full or half-crimp, so it tends to be more useful for saving energy on easier moves (see 'grip switching').
Junior climbers are prone to over-using the 3-finger drag on edges because they feel weak at half-crimping and hence a key coaching tip is to encourage them to use their little finger and maintain a half-crimp.
When using a fingerboard, favour the half-crimp for the majority of sets. For strength work, calibrate so that you hit failure between 4 and 10 seconds. Do single 'max' hangs or short-duration 'repeaters' (eg: up to 6 in a row). For endurance, don't hang for long-duration hangs but instead, do multiple repeaters sets (eg 6 secs on – secs off or 7-on-3-off) x 10 – 50, subject to requirements.
Try to prevent the index finger from straightening into a chisel grip unless doing endurance work.
The drag/open grip is useful but less effective as an 'all-round' training grip than the half-crimp. A rule of thumb is to do two-thirds of sets half-crimped and a third of sets dragging, although this should change subject to goals and weaknesses.
Key energy conservation techniques for edges
Grip-switching
One of my all-time favourite climbing tricks is to switch between the full-crimp, half-crimp and drag whilst climbing long endurance routes on edges. This works on the simple principle that a change is as good as a rest (well, almost!) It was John Dunne who first told me to do this and I found the benefits were immediate. A great time to practice this technique is when warming up or doing long-endurance training on easy terrain. The principles of grip-switching can also be applied when rehabilitating a finger injury. For example, if you've hurt a finger crimping or half-crimping then it may still be possible to climb using an open/drag grip on easy and mid-level terrain.
Thumb catches and thumb-crimping
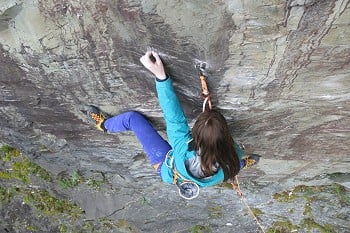
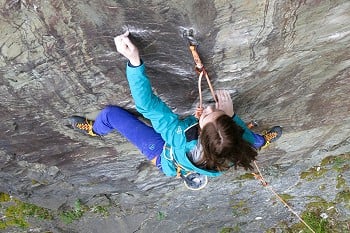
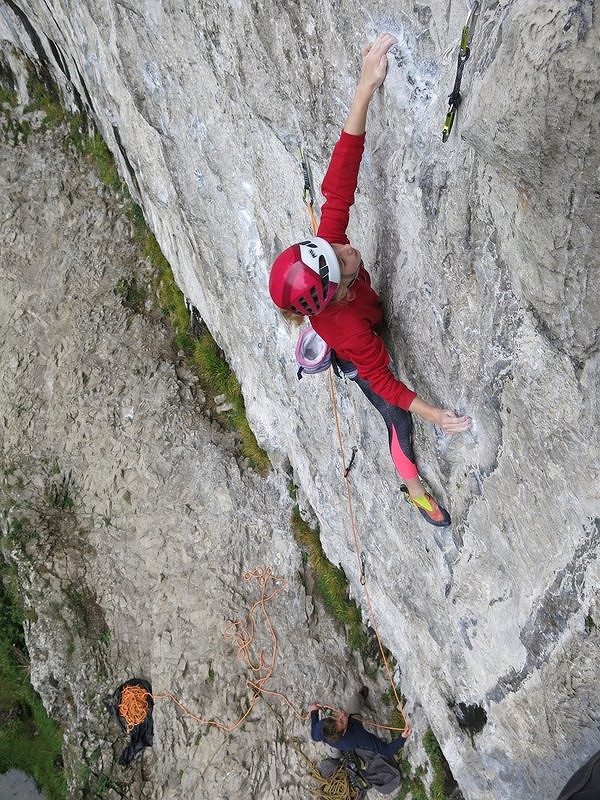
With or without the thumb-catch? Anna Taylor tries both options on her 2018 new route Gecko 7b+, Hodge Close Quarry, Lake District.
One of the most common gripping errors when climbing on rock is to find the edge but miss the accompanying thumb-catch. The line of differentiation between a thumb-catch and pinch is a grey one, and clearly there will be some overlap. Most regard thumb-catches as small in-cut depressions, which work in conjunction with edges to increase the amount of traction that can be obtained. This is usually achieved by actually pulling with the thumb, as opposed to pinching. With large in-cut edges it may even be possible to lock your thumb over the top of the hold itself in order to alleviate strain on the fingers and reduce the pump. This will require a certain degree of thumb strength, not to mention cunning, but it has saved the day for me on countless occasions. Ignore or under-estimate both these techniques and you will be missing out.
Case study: First Ascent of Sabotage 8c+/9a, Malham Cove
Whilst working my 2016 project at Malham Cove, a new direct finish to Predator 8b, I encountered a 'stopper' crux move through the top bulge. This was centered around one of the most sloping and unhelpful tufas I have ever tried to pinch. After four visits to the crag, I could still barely get my weight off the rope and was considering throwing the towel. Then in a moment of last-minute inspiration (or desperation), I decided to try 'crimping' the thumb-catch-part of the tufa with my thumb instead of pinching. After a few tries, this unlocked the move and whilst it was still right at my limit, it felt possible and sure enough, some months later I ended up redpointing from the ground, all the way through this move and onwards to the top.
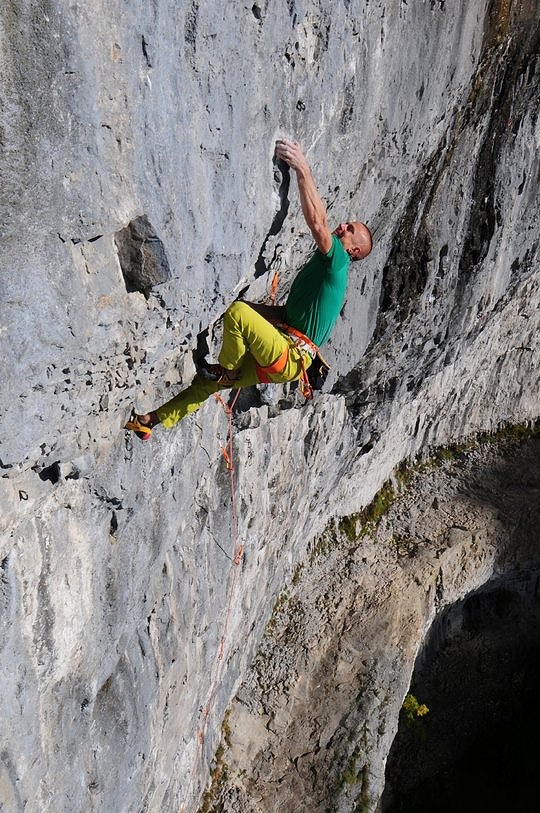
It is so important to keep an open mind when it comes to all aspects of technique and especially when it comes to the way we use the handholds. Sometimes, the most subtle change will give you an extra one or two per cent, but that may be all you need! See you again soon on these pages to look at gripping technique for other types of hold.
With special thanks to Boulder UK Preston and Depot Climbing, Manchester.
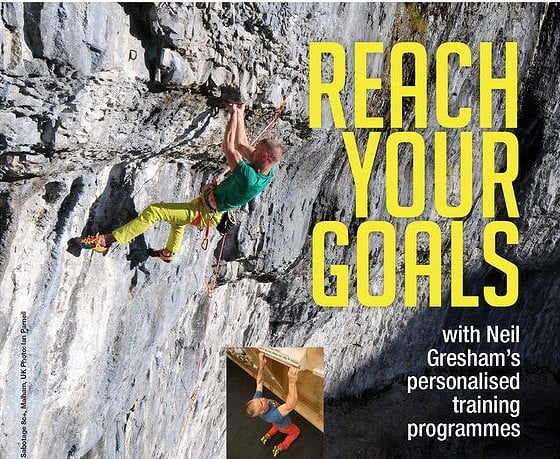
Neil Gresham is widely regarded as one of the world's leading voices in performance coaching for climbing. He has been coaching and writing regular training articles for national magazines since 1993 and has pioneered many of the methods that are used widely by coaches today. Neil is the current training columnist for UKClimbing.com and Rock & Ice in the USA.
He has climbed E10 trad, WI 7 on ice and in 2016 he climbed his first 8c+ at the age of 45 when he made the first ascent of Sabotage 8c+ at Malham Cove. Neil puts all his successes down to hard work, motivation and refinement of his game. He believes that work and family commitments don't need to limit our climbing goals provided we are focused and make the best possible use of our training time.
Key components of Neil's training programmes
- All programmes are based on response to a detailed questionnaire and are aimed at the ability level, weaknesses, strengths, goals and lifestyle constraints of each individual.
- Programmes can also be based on the results of optional benchmarking tests. See 'benchmarking' on this site.
- Programmes can be for all-round performance or geared towards different climbing styles: bouldering, sport, trad or competitions. They can also be targeted towards goals, weaknesses, trips or projects.
- You can choose between a full training programme (which includes all aspects of training) or a 'fingerboard-only' training programmes. Fingerboard programmes include advice on how to fit the sessions in with other climbing and training.
